Back to School Already Sourdough Sandwich Bread
Okay, my friends. Summer is officially ending.
Not because the weather has decided it’s fall—although we’ve had a nice little cool spell the last few days, and I’m certainly not complaining. I’ll take any opportunity to open a window in August without immediately regretting my choices.
Nope. According to my kids, this is the day summer ends.
They’re headed back to school.
And they are not happy about it.
To be fair, both of them have chosen some seriously tough classes this semester, so they know there’s a challenge waiting for them on the other side of those classroom doors. There are schedules to juggle, assignments to keep track of, early mornings to survive, and professors who apparently do not care that summer was just getting good.
And when the people I love are stressed, I do what I do best.
I bake something.
It’s basically my love language. Some people offer wise words of encouragement. I offer carbohydrates.
You’re going to see a few back-to-school treats around here this week because stressful seasons deserve snacks. But before we get to the sweet stuff, we’re kicking things off with something decidedly practical—and still pretty darn delicious.
Back to School Sourdough Sandwich Bread.
Because Even a Peanut Butter Sandwich Deserves Good Bread
My ARFID kiddos still take peanut butter sandwiches to college.
Yep. College.
And you know what? I’m totally good with that.
One of the things I’ve learned over the years is that food doesn’t have to be exciting or adventurous to do its job. Sometimes food’s job is simply to be familiar. To be safe. To be the thing you know you’ll actually eat in the middle of a long day when your brain is already doing seventeen other things.
If that’s a peanut butter sandwich, then peanut butter sandwich it is.
But we can make the bread really good.
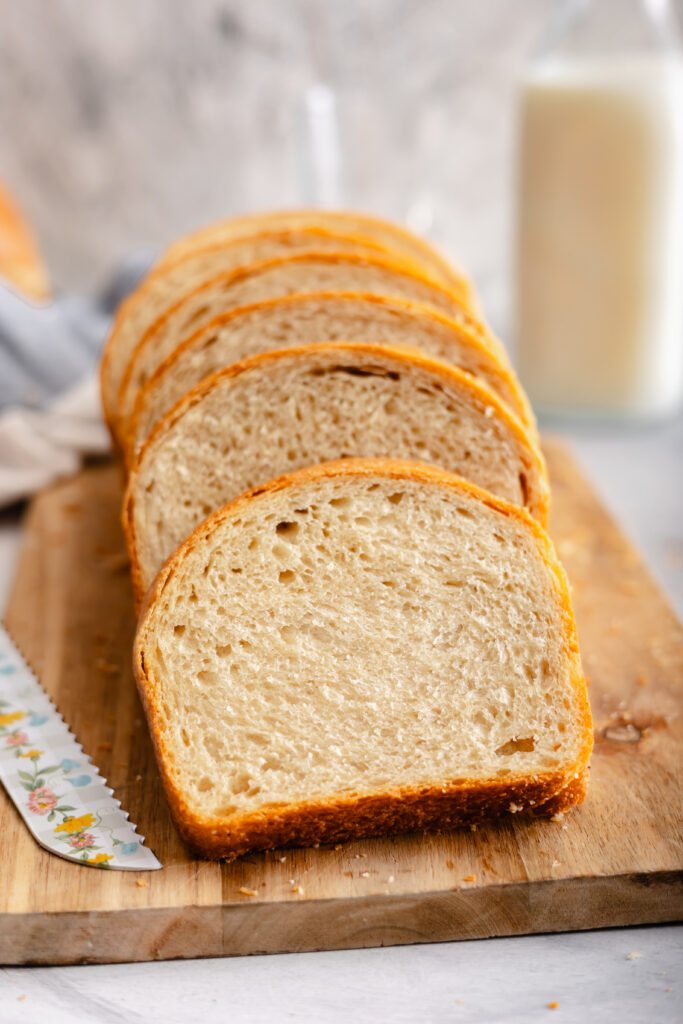
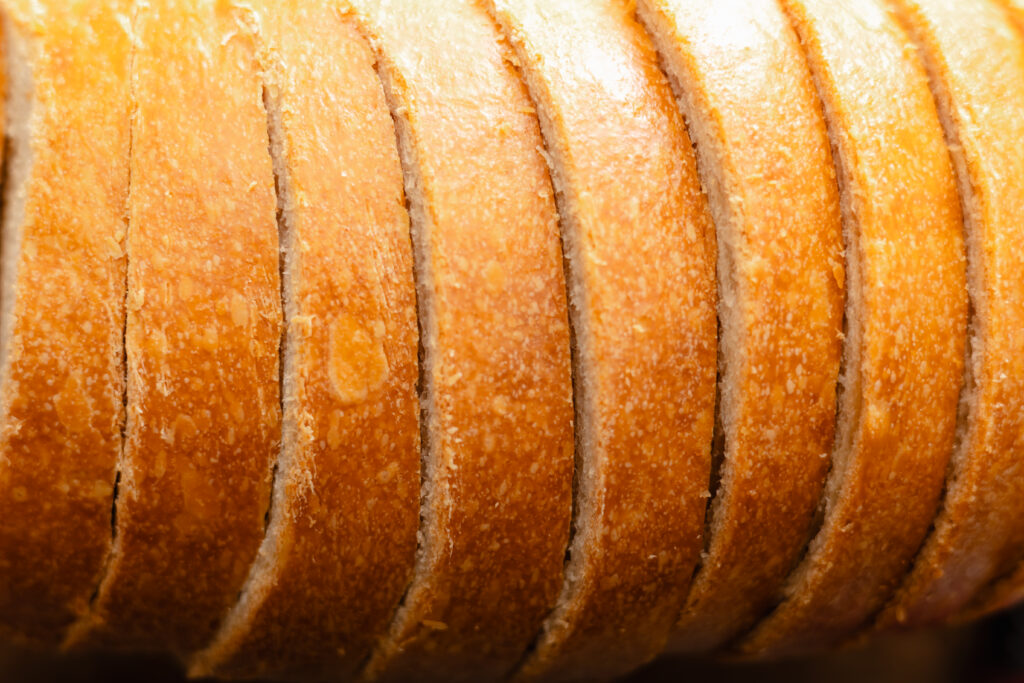
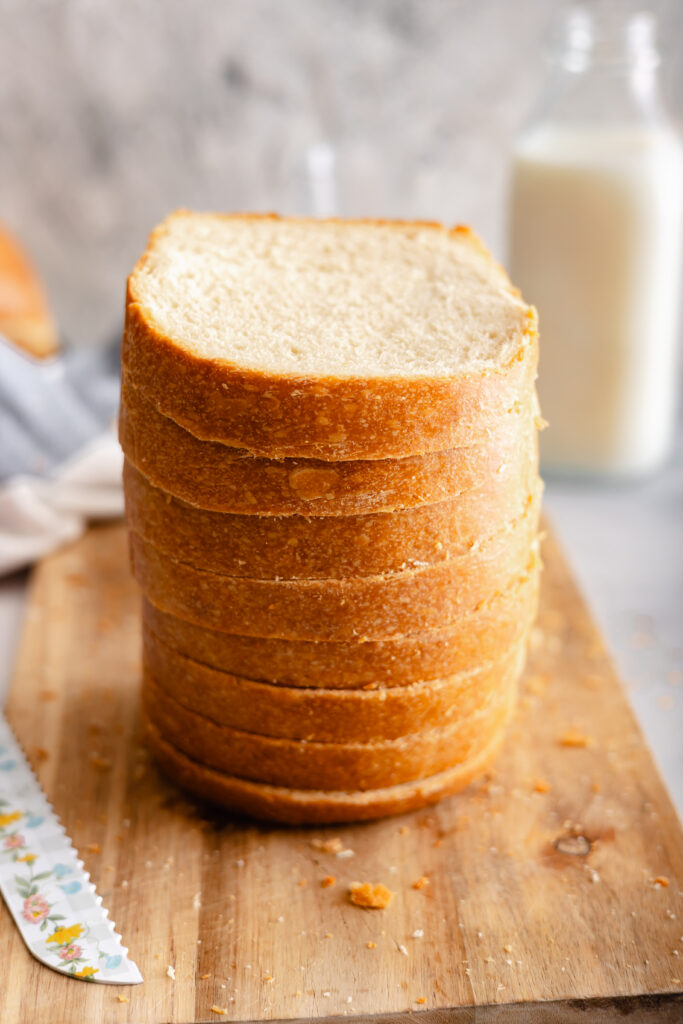
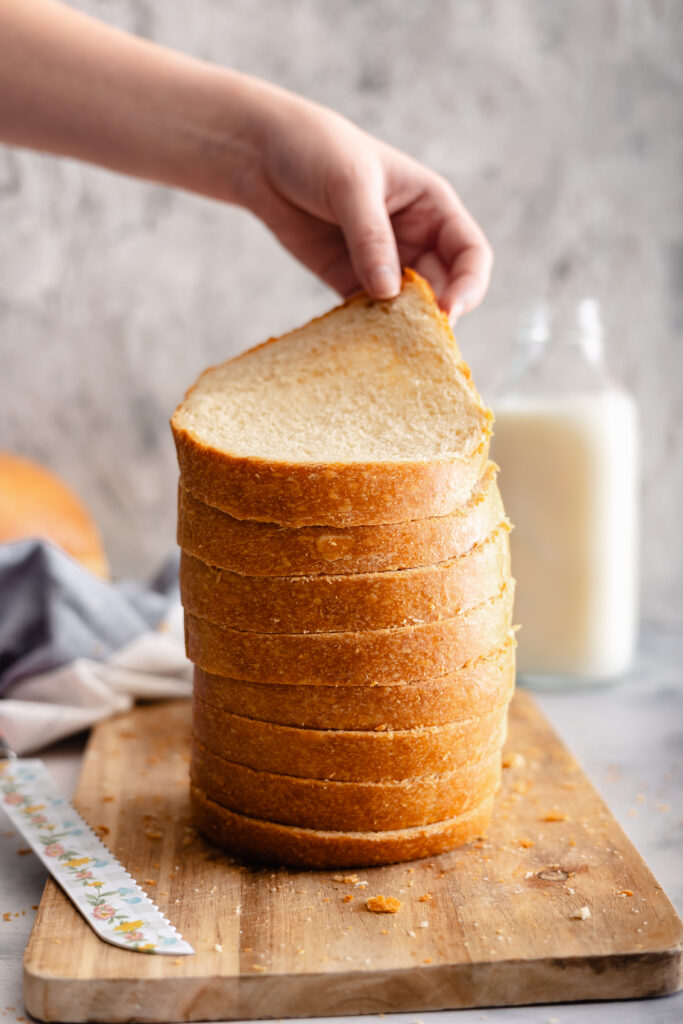
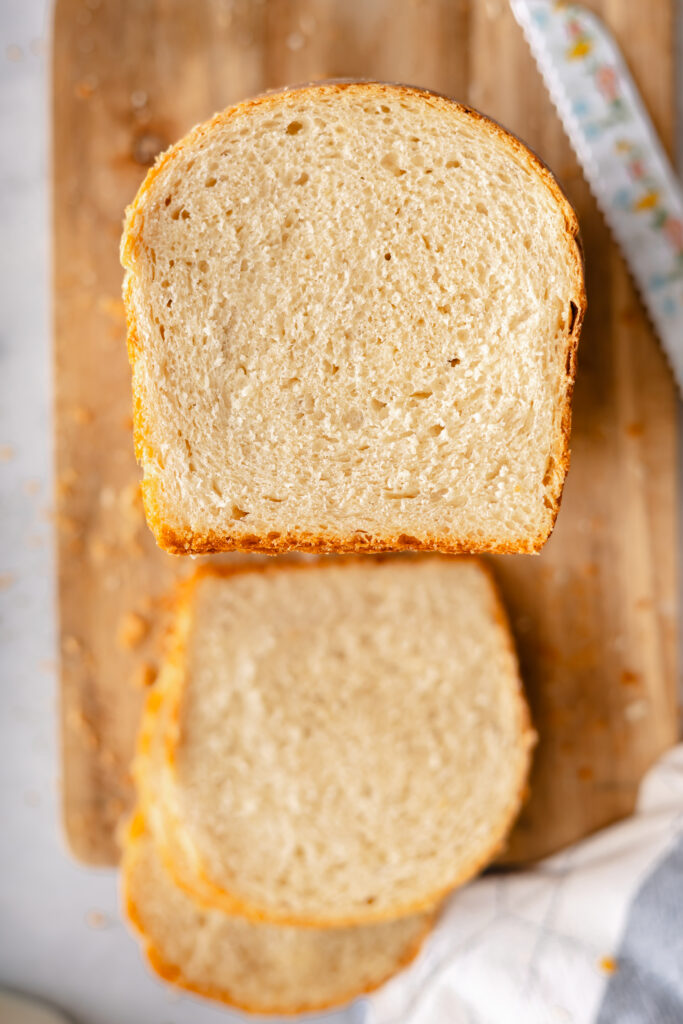
This sourdough sandwich bread is soft enough for everyday sandwiches, lightly sweetened with maple syrup, enriched with milk and butter, and sturdy enough to survive being tossed into a lunch bag and hauled around campus all day.
It’s also just as good for those of us brown-bagging it to work. Turkey and cheese? Grilled cheese? Egg salad? Toast with an irresponsible amount of butter?
She’s ready.
This Isn’t My Usual Sourdough Method
If you’ve made sourdough with me before, you know I’m normally a stretch-and-fold girl.
Mix. Rest. Stretch. Fold. Walk away. Come back. Repeat.
There’s something wonderfully slow and peaceful about that method.
But back-to-school season doesn’t exactly scream slow and peaceful, does it?
So for this bread, we’re letting the stand mixer earn its keep.
The dough hook does the kneading for us until the dough becomes smooth and stretchy and passes the windowpane test. That gives us the structure we need for a lovely sandwich loaf without spending the afternoon babysitting a bowl of dough.
And yes, there’s a tiny bit of instant yeast in this sourdough recipe.
I know.
Clutch your pearls if you must.
You can absolutely leave it out and let your sourdough starter do all the heavy lifting. But I’ve found that for a soft sandwich bread—especially one containing milk, butter, and maple syrup—that little 1/4 teaspoon of commercial yeast gives my starter just enough backup to keep things moving.
Sometimes we all need a little help.
Apparently even sourdough starter.
Please Grab Your Kitchen Scale
For sourdough breads, I really recommend using a kitchen scale.
I know measuring cups feel easier, but the way we scoop flour can be wildly different. One person’s cup of flour can weigh quite a bit more than someone else’s, and with bread dough, that difference matters.
So this is one of those times when I think weight measurements are absolutely worth it.
And remember: the dough gets the final say.
Your kitchen isn’t my kitchen. Your flour may absorb water differently. Your starter might be thicker. Colorado might decide we’re living on the surface of the sun that afternoon.
Watch your dough.
If it’s really sticky, add flour one tablespoon at a time. If it seems too dry, give it a tablespoon of water.
You’re looking for dough that’s smooth and stretchy, clears the sides of the mixing bowl, but still sticks just a little to the bottom.
Think soft and supple—not dry and stiff.
Bread dough will tell you what it needs if you give it a chance.
An Overnight Rise Makes This Perfect for Busy Weeks
After the first rise, we’ll shape our dough into two loaves and tuck them into loaf pans.
Then into the refrigerator they go.
That long, cold second rise is one of my favorite parts of this recipe because the bread can quietly do its thing while I’m doing approximately 4,827 other back-to-school things.
Eight hours later, pull the loaves from the refrigerator, let them sit on the counter while the oven preheats, and bake.
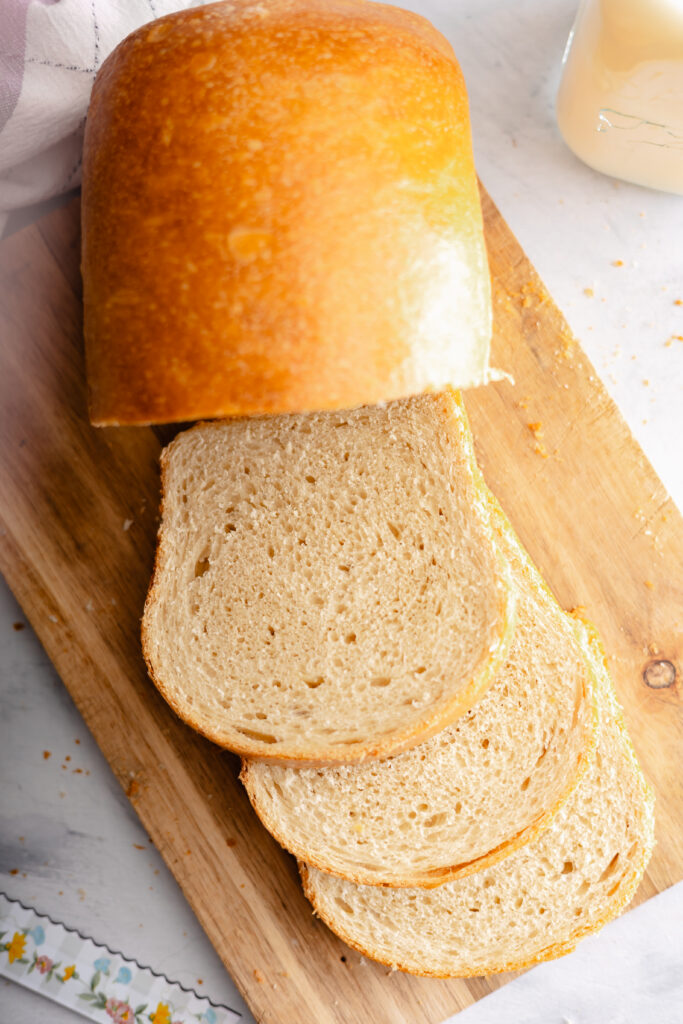
And please—please—let the bread cool completely before you slice it.
I know.
Warm bread smells like happiness and waiting feels deeply unreasonable.
But cutting bread while it’s still hot can leave the inside gummy and compressed. We’ve come too far together for that kind of tragedy.
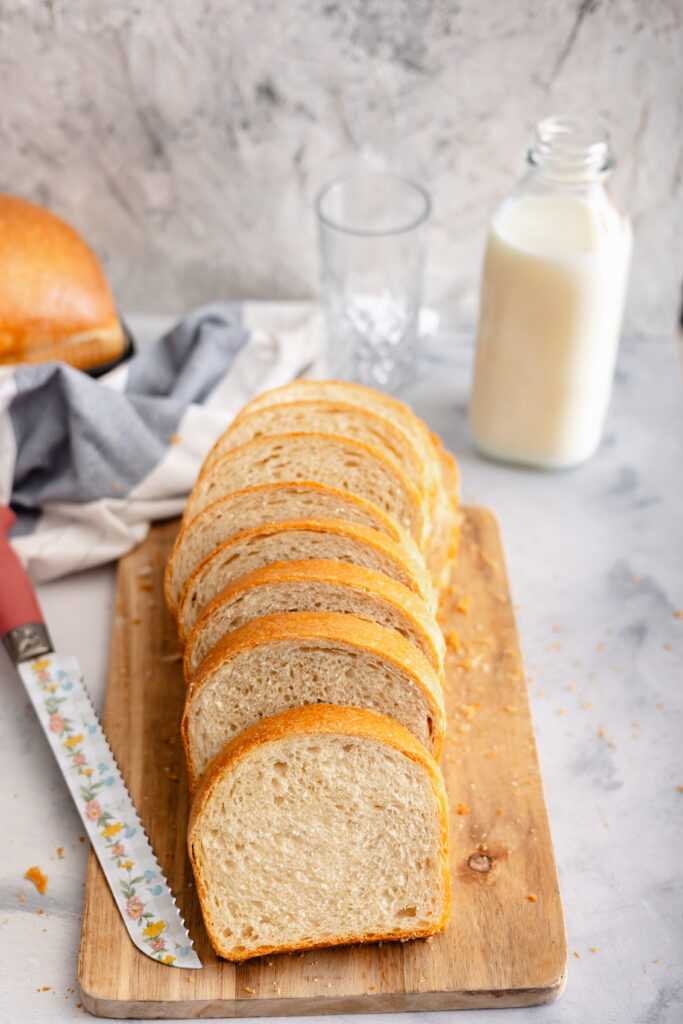
Once it’s cool, slice it up and make yourself a sandwich.
School may be back in session, but that doesn’t mean lunch has to be sad.
Back to School Sourdough Sandwich Bread
Ingredients
Method
- Combine the starter and liquids. Add the active sourdough starter, milk, and water to the bowl of a stand mixer. Using a dough whisk, whisk everything together until well combined and bubbly.
- Add the enrichments. Add the maple syrup and melted butter and give everything a quick stir to combine.
- Add the dry ingredients. Attach the dough hook to your stand mixer. Add the bread flour, instant yeast, and salt to the bowl.
- Knead the dough. Mix on low to medium speed until the dough becomes smooth, stretchy, and forms a beautiful ball. In my kitchen, this takes about 10 minutes.
- Check the consistency. The finished dough should clear the sides of the mixing bowl while still sticking slightly to the bottom. If your dough seems too sticky, add bread flour 1 tablespoon at a time. If it seems too dry, add water 1 tablespoon at a time.
- Perform the windowpane test. Pinch off a small piece of dough and gently stretch it between your fingers, almost like you’re stretching a piece of gum. If it stretches thin without tearing, congratulations—your dough has passed the windowpane test. If it tears right away, continue kneading for another minute or two and test again.
- Begin the first rise. Transfer the dough to a lightly greased bowl and cover with plastic wrap or a damp kitchen towel. Let the dough rise at room temperature until it has increased in size by approximately 75%. In my very warm summer kitchen, this takes about 4 hours. Your timing may vary depending on the temperature of your kitchen and the activity of your starter.
- Divide and shape. Turn the risen dough onto a lightly floured work surface and divide it into 2 equal portions. Working with one portion at a time, gently shape the dough into a rectangle. Fold it into thirds using a business-letter fold, then roll it tightly from the short end to create a loaf that will fit your pan. Repeat with the second portion.
- Place into loaf pans. Line 2 standard loaf pans with parchment paper. Place one shaped loaf into each pan with the seam side down.
- Cold proof overnight. Cover the pans with plastic wrap and place them in the refrigerator for approximately 8 hours.
- Prepare to bake. Remove the loaves from the refrigerator 30 minutes before baking. Preheat your oven to 350°F.
- Bake. Place the loaf pans on the center rack of the preheated oven and bake for 50–60 minutes, or until the loaves are beautifully golden brown and sound hollow when tapped on the bottom after being removed from the pans.
- Cool completely. Remove the loaves from their pans and transfer them to a wire cooling rack. Let them cool completely before slicing. I know you want warm bread. Resist. Your sandwiches will thank you.
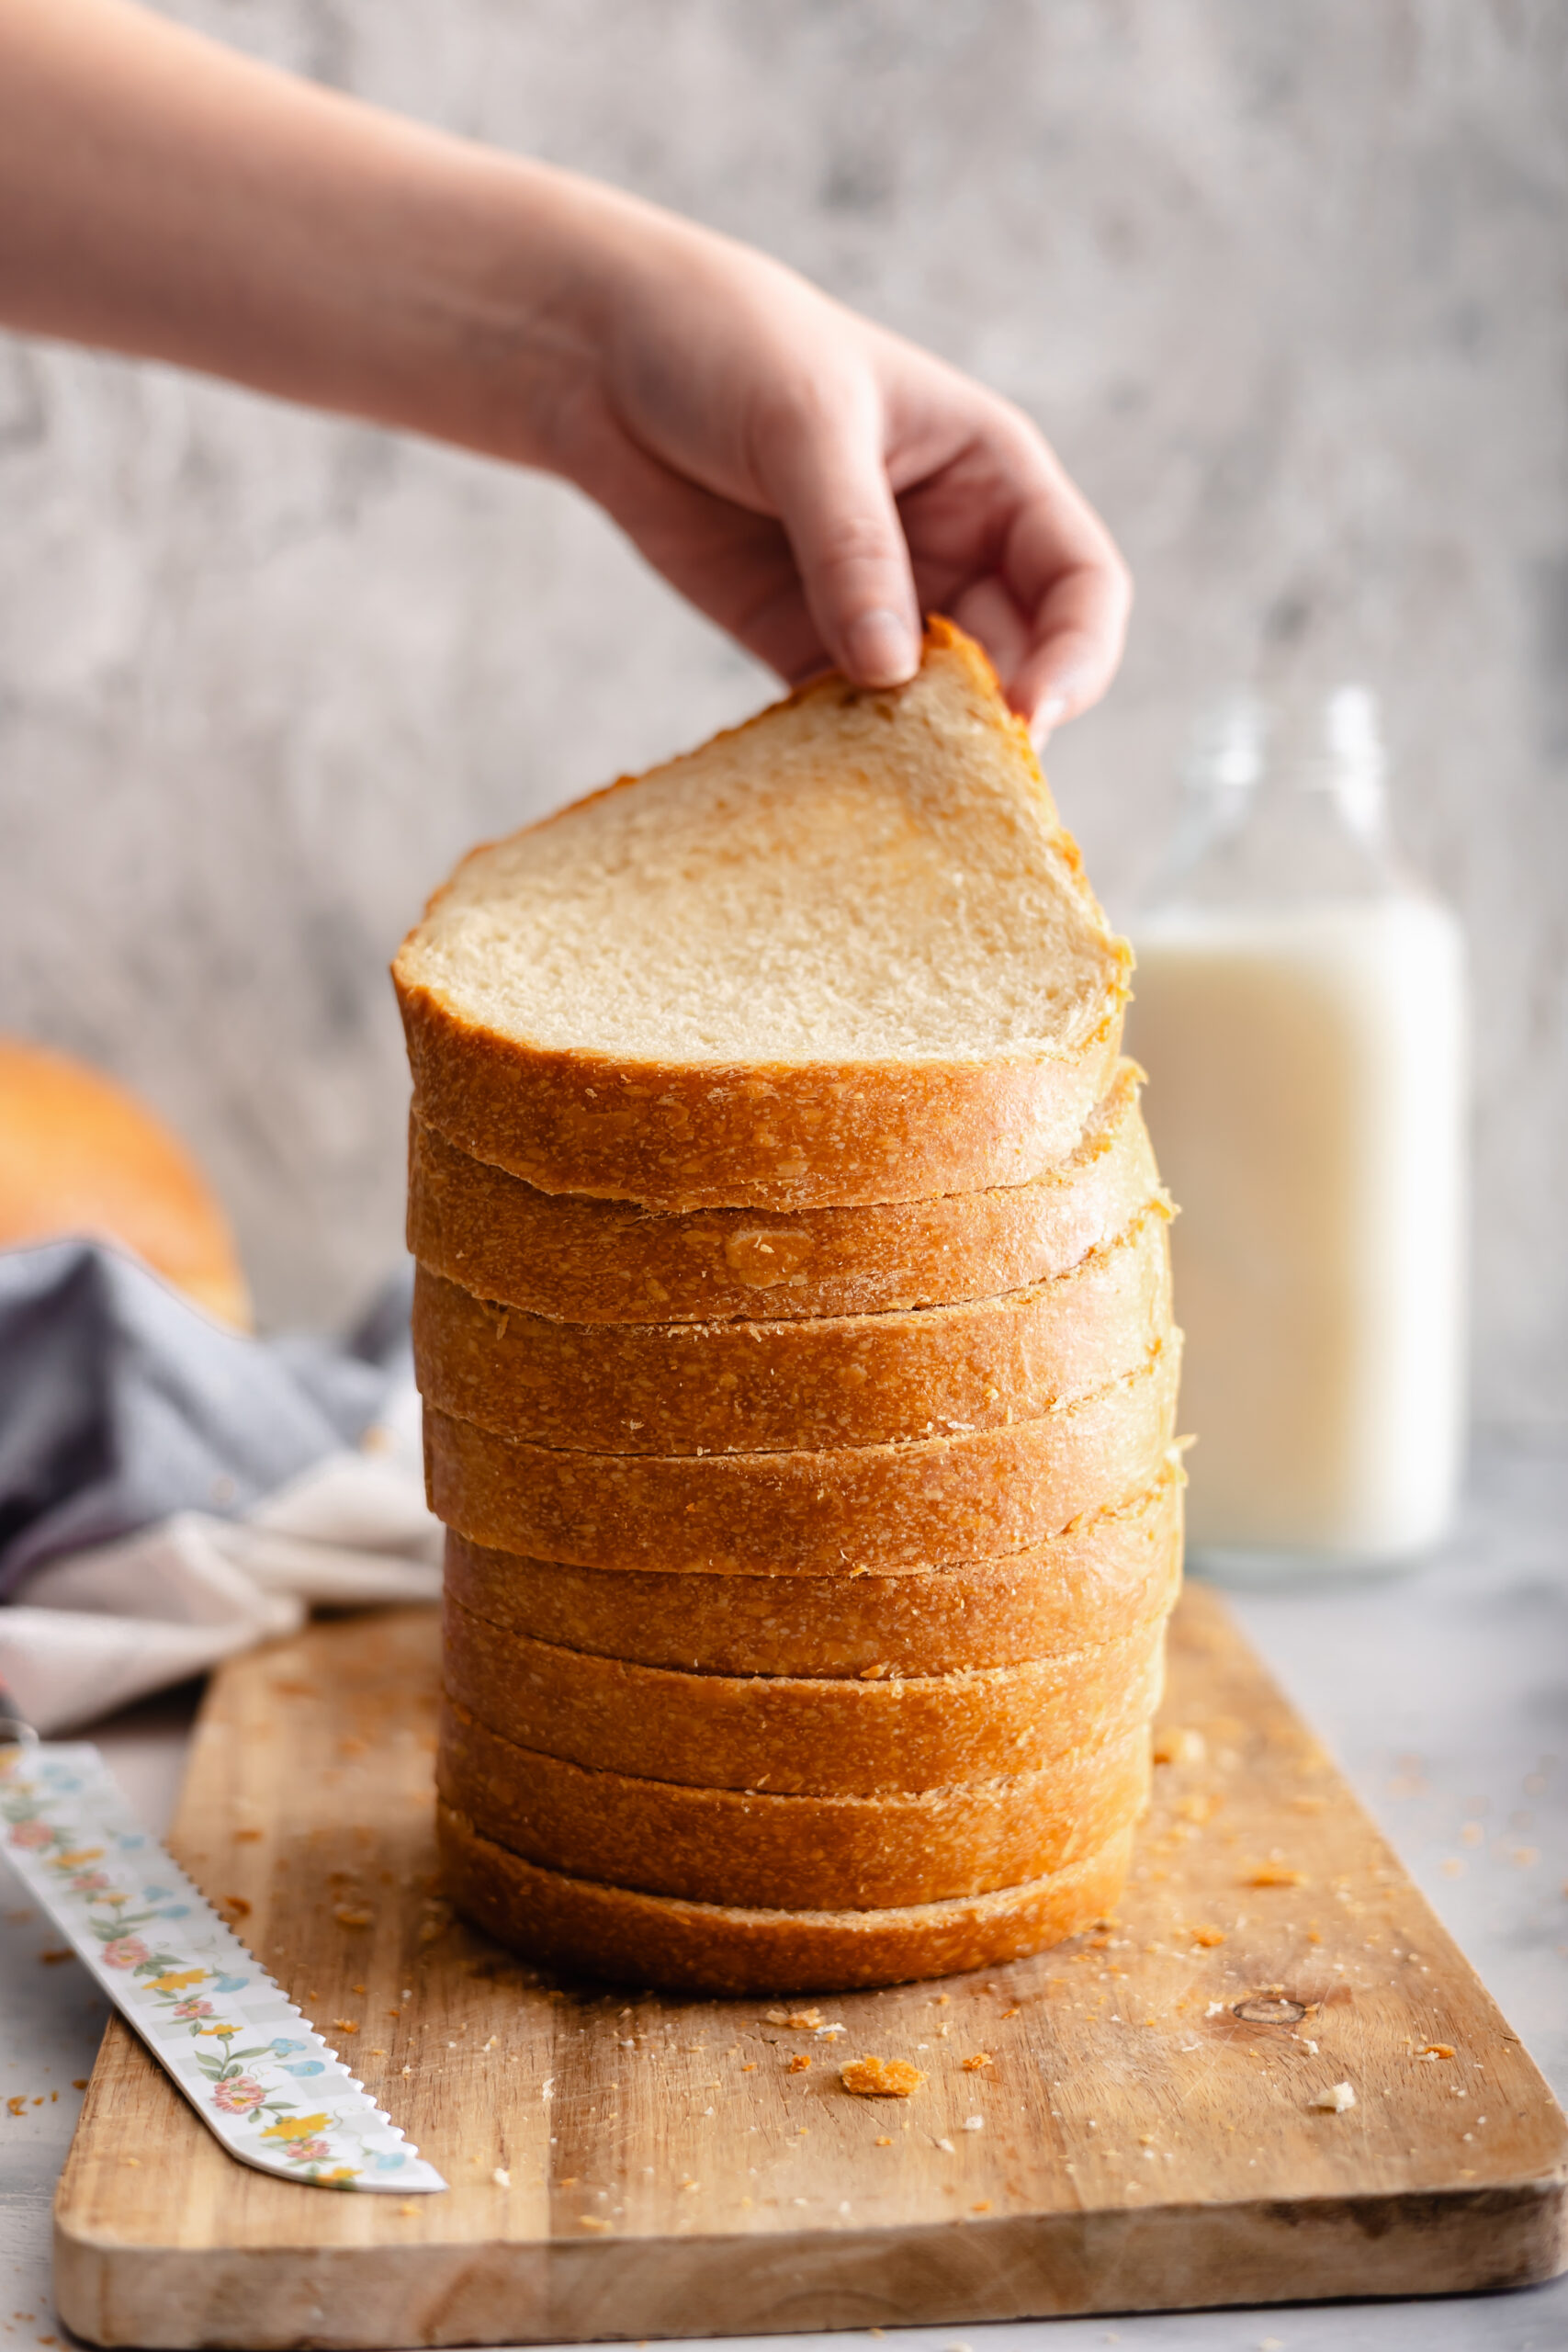
- Slice and enjoy. Once completely cool, slice your bread and make the best back-to-school sandwiches ever.
Notes
School is back.
The backpacks are packed, the schedules are ridiculous, and we’re all trying to remember how mornings work again.
But there’s homemade bread on the counter.
There are peanut butter sandwiches tucked safely into lunch bags.
And sometimes loving your people doesn’t look like doing anything particularly grand.
Sometimes it looks like knowing exactly what they’ll eat on a hard day and making it just a little bit better.
That’s enough.
Actually, I think that’s pretty wonderful.
Now go make yourself a sandwich, my friend. We’ve got a school year to survive.