Ingredients
Method
- Combine the starter and liquids. Add the active sourdough starter, milk, and water to the bowl of a stand mixer. Using a dough whisk, whisk everything together until well combined and bubbly.
- Add the enrichments. Add the maple syrup and melted butter and give everything a quick stir to combine.
- Add the dry ingredients. Attach the dough hook to your stand mixer. Add the bread flour, instant yeast, and salt to the bowl.
- Knead the dough. Mix on low to medium speed until the dough becomes smooth, stretchy, and forms a beautiful ball. In my kitchen, this takes about 10 minutes.
- Check the consistency. The finished dough should clear the sides of the mixing bowl while still sticking slightly to the bottom. If your dough seems too sticky, add bread flour 1 tablespoon at a time. If it seems too dry, add water 1 tablespoon at a time.
- Perform the windowpane test. Pinch off a small piece of dough and gently stretch it between your fingers, almost like you're stretching a piece of gum. If it stretches thin without tearing, congratulations—your dough has passed the windowpane test. If it tears right away, continue kneading for another minute or two and test again.
- Begin the first rise. Transfer the dough to a lightly greased bowl and cover with plastic wrap or a damp kitchen towel. Let the dough rise at room temperature until it has increased in size by approximately 75%. In my very warm summer kitchen, this takes about 4 hours. Your timing may vary depending on the temperature of your kitchen and the activity of your starter.
- Divide and shape. Turn the risen dough onto a lightly floured work surface and divide it into 2 equal portions. Working with one portion at a time, gently shape the dough into a rectangle. Fold it into thirds using a business-letter fold, then roll it tightly from the short end to create a loaf that will fit your pan. Repeat with the second portion.
- Place into loaf pans. Line 2 standard loaf pans with parchment paper. Place one shaped loaf into each pan with the seam side down.
- Cold proof overnight. Cover the pans with plastic wrap and place them in the refrigerator for approximately 8 hours.
- Prepare to bake. Remove the loaves from the refrigerator 30 minutes before baking. Preheat your oven to 350°F.
- Bake. Place the loaf pans on the center rack of the preheated oven and bake for 50–60 minutes, or until the loaves are beautifully golden brown and sound hollow when tapped on the bottom after being removed from the pans.
- Cool completely. Remove the loaves from their pans and transfer them to a wire cooling rack. Let them cool completely before slicing. I know you want warm bread. Resist. Your sandwiches will thank you.
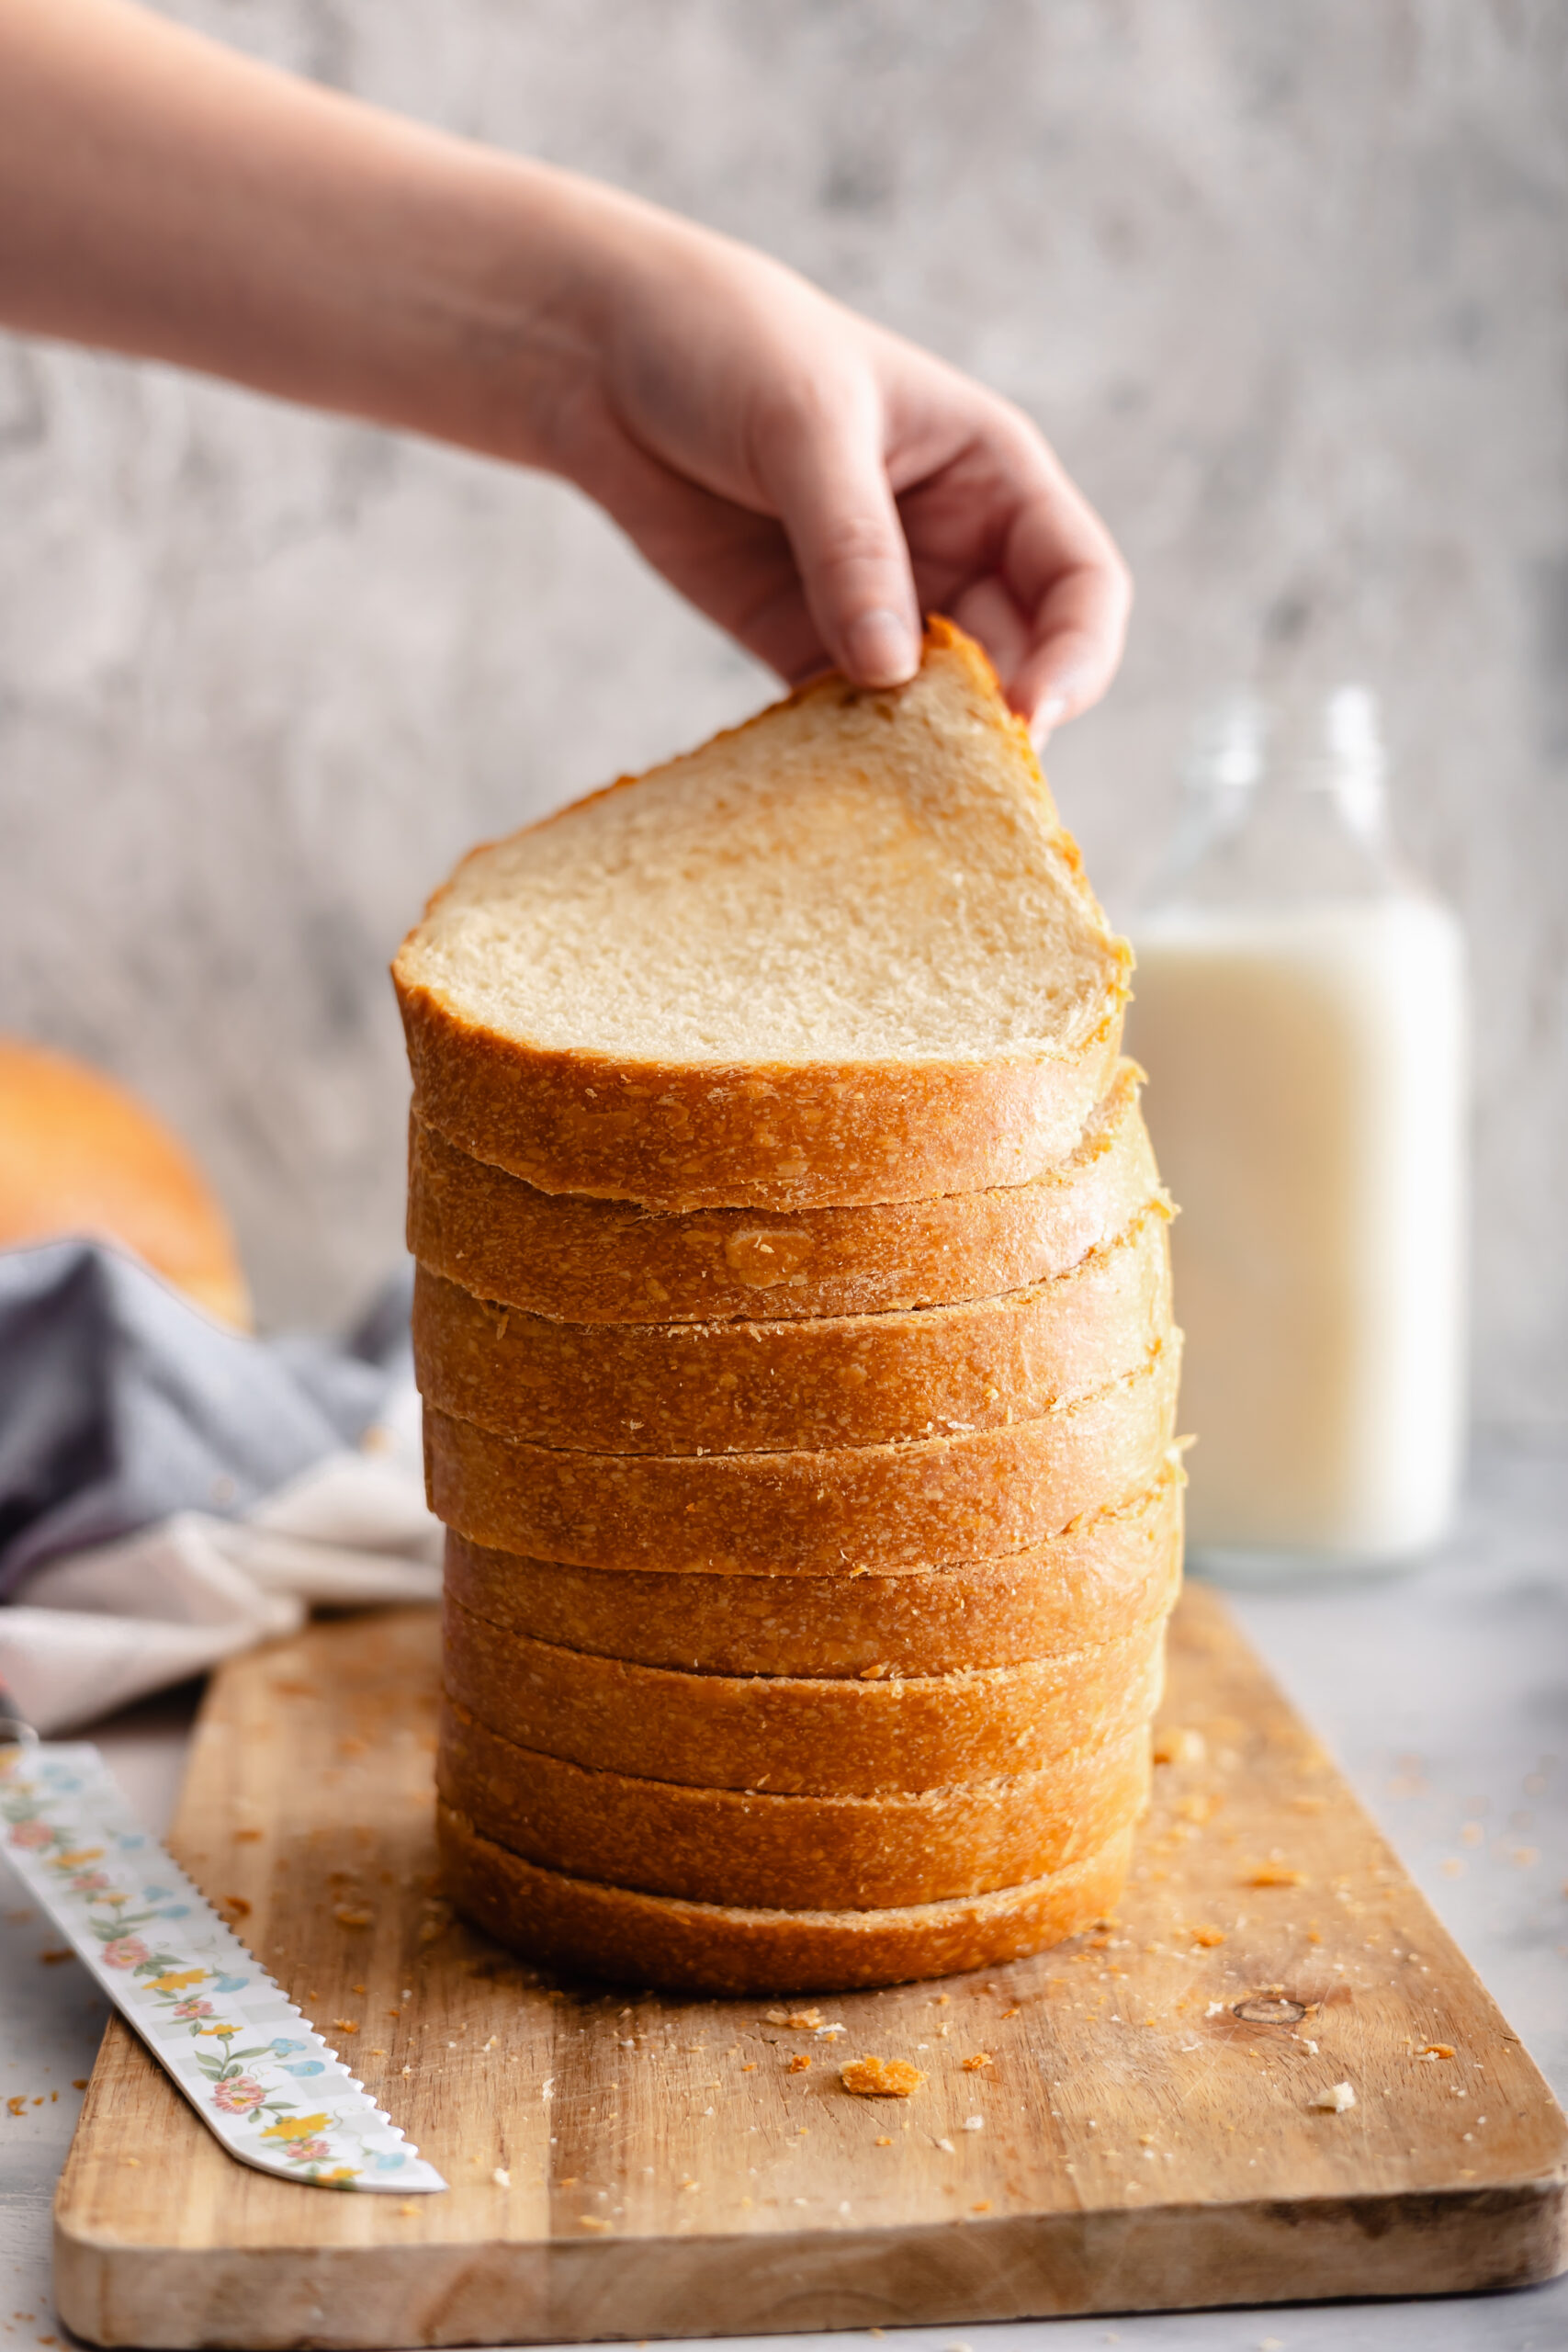
- Slice and enjoy. Once completely cool, slice your bread and make the best back-to-school sandwiches ever.
Notes
About the yeast: The 1/4 teaspoon instant yeast is optional. You can leave it out and rely completely on your active sourdough starter, but I find that a tiny bit of commercial yeast gives this enriched sandwich dough a helpful boost and makes the rise a little more predictable.
Watch the dough, not the clock: Sourdough rise times vary depending on the temperature of your kitchen, your flour, and the strength of your starter. Look for approximately a 75% increase in volume during the first rise rather than relying only on the suggested four-hour timeline.
Use a scale: Weight measurements are strongly recommended for this recipe. Flour can vary considerably depending on how it's scooped into a measuring cup, and a kitchen scale gives you much more consistent results.
Storage: Once completely cool, store the bread tightly wrapped at room temperature. You can also slice and freeze a loaf so individual slices are ready whenever a sandwich emergency arises.