Ingredients
Method
- Mix the wet team. Combine the warm milk and active sourdough starter in the bowl of your stand mixer. You CAN do this by hand, but the mixer makes life so much easier. Use a dough whisk to stir everything together until the starter is incorporated and the mixture is bubbly.
- Add the honey and eggs. Add the honey, 2 whole eggs, and egg yolk. Give everything another good whisk until combined.
- Add the dry ingredients. Add the bread flour and salt to the bowl and attach the dough hook to your mixer. Begin kneading on low speed.
- Add the butter. With the mixer running, add the softened butter one tablespoon at a time, allowing each addition to get all cozy with the dough as it kneads.
- Knead until the gluten is developed. Continue kneading until the dough is smooth, elastic, and passes the windowpane test. In my mixer, this takes about 10 minutes. Boom! Beautifully developed gluten.
- Begin the first rise. Turn the dough out into a lightly greased bowl—I use canola oil spray—and cover it with plastic wrap. Let the dough rise at room temperature until it has increased in size by about 50–75%.
- My kitchen has been stupid hot with the air conditioning broken, so this took about 4 hours. If your house is cooler, yours may take longer. Watch the dough rather than the clock.
- Refrigerate overnight. Once the dough has risen, place the covered bowl in the refrigerator overnight. I think the flavor is best when the dough gets this nice, slow rest.
- Prepare your pan. When you're ready to make your buns, spray a hot dog bun pan with canola oil and set it aside. If you're not using a specialty pan, you can shape the buns and place them on a parchment-lined baking sheet instead.
- Divide the dough. Divide the chilled dough into 10 equal pieces, about 115 grams each.
- Shape the buns. Flatten each piece of dough into a small rectangle. Roll it up tightly into a little log about the length of the section in your hot dog bun pan—or approximately 4 inches long. Repeat with all 10 pieces.
- Let the buns rise again. Cover the shaped buns and let them rise for another 2 1/2–3 hours, or until they've doubled in size and look wonderfully puffy.
- Preheat the oven. About 30 minutes before you plan to bake, preheat your oven to 400°F. Place a sheet pan on the bottom rack of the oven while it preheats.
- Make the egg wash. Whisk together 1 egg and 2 tablespoons of milk. Just before baking, gently brush the tops of your beautiful, puffy buns with the egg wash.
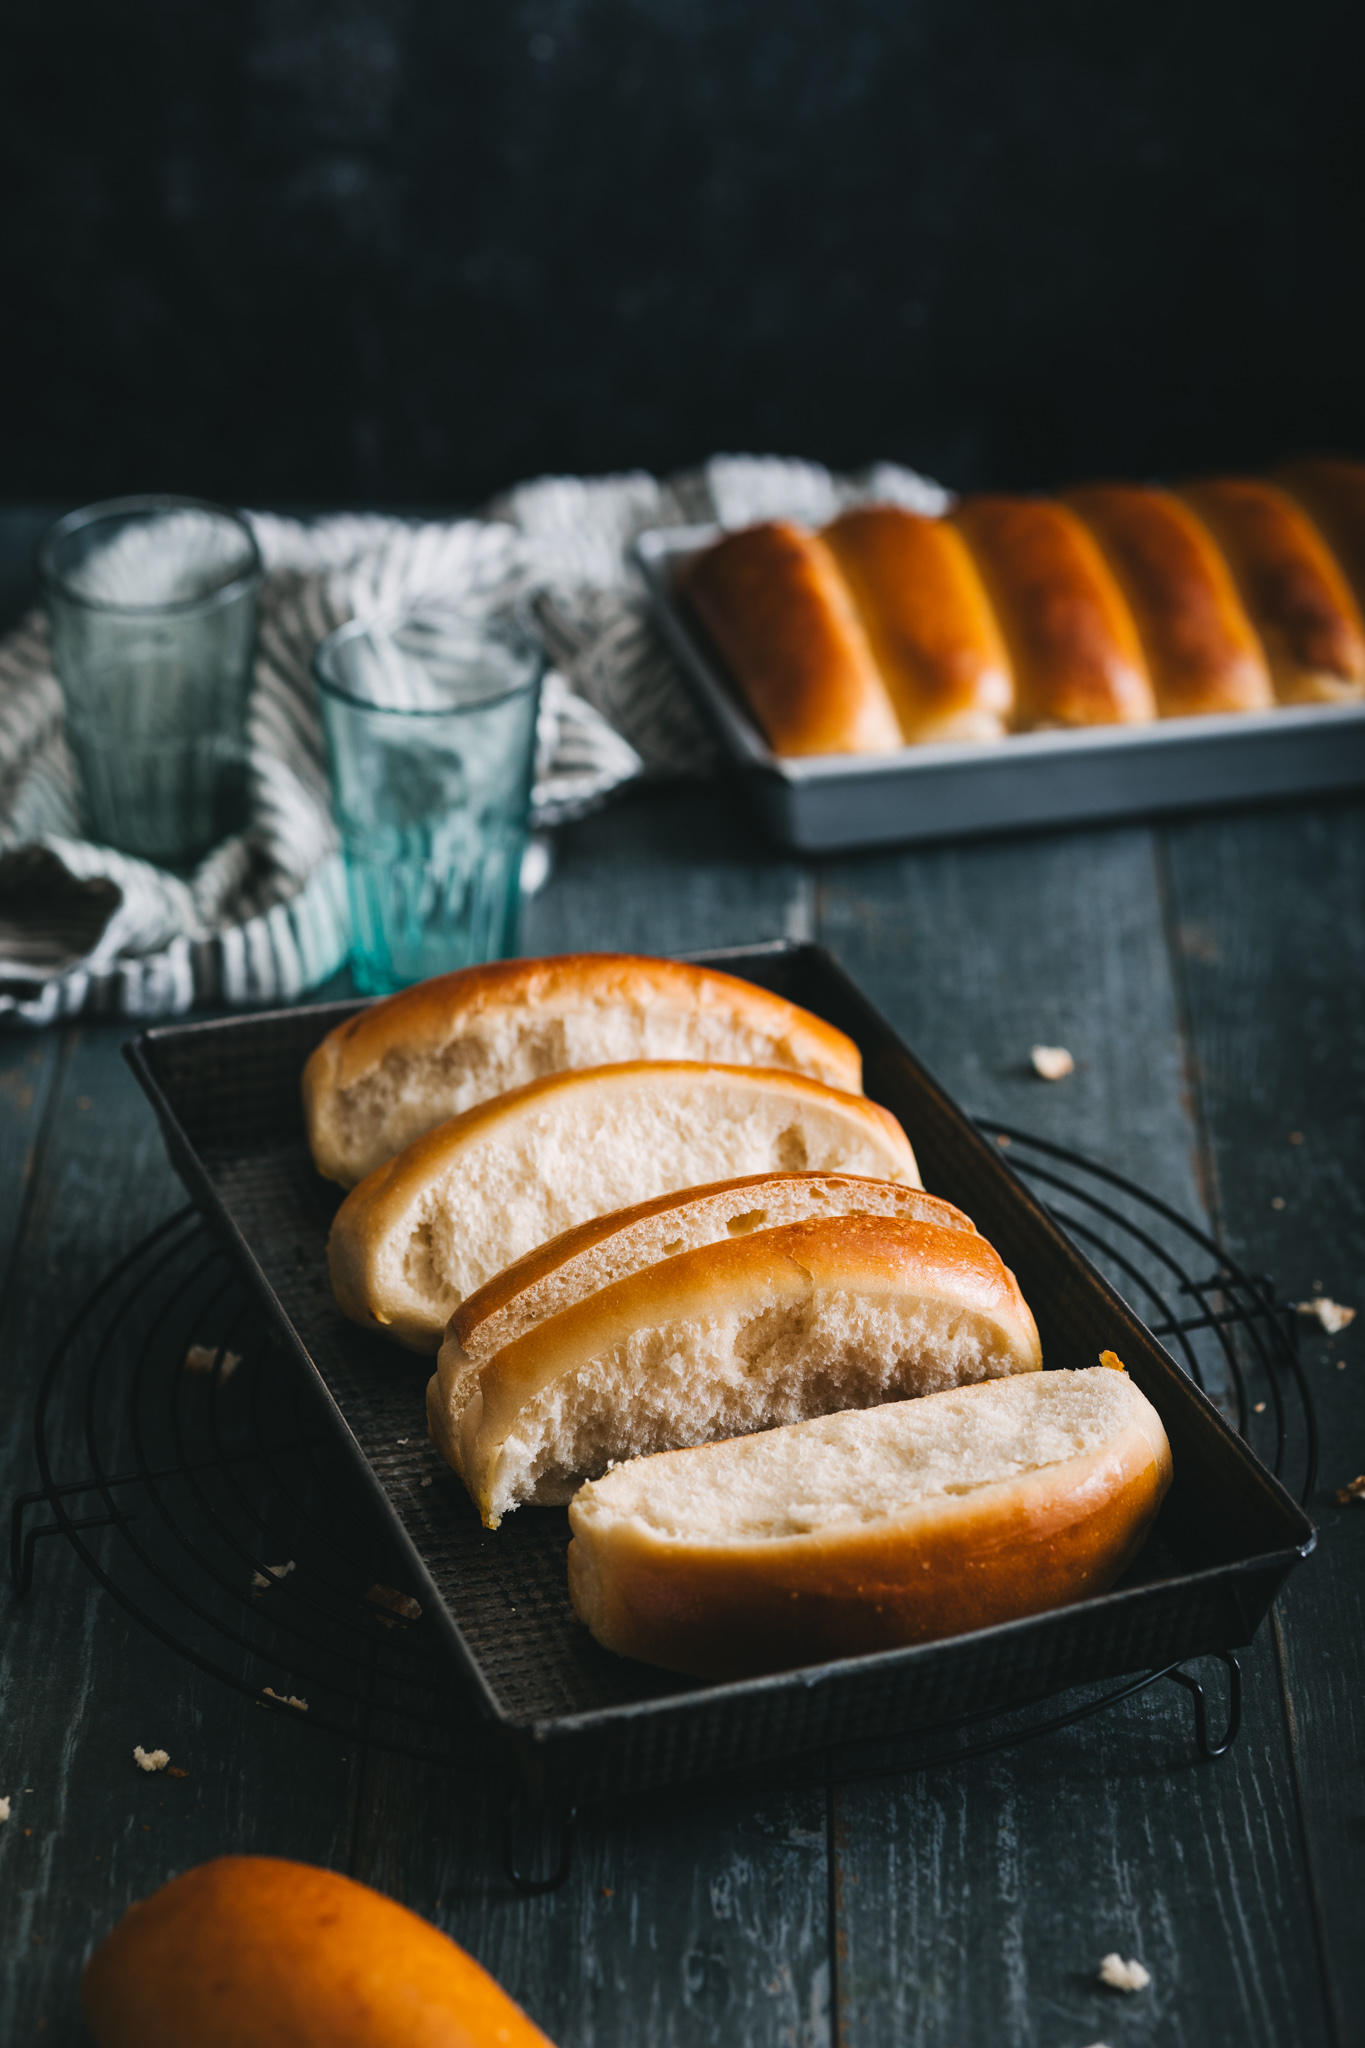
- Bake. Place the buns on the middle rack of the oven and bake for 20–25 minutes, until they're beautifully golden brown.
- Cool. Pull them out of the oven and take a moment to celebrate the fact that homemade hot dog buns are totally a thing—and you just made them. Let the buns rest in the pan for about 5 minutes, then remove them and transfer them to a wire rack to finish cooling.
- Final note: Summer isn't over just yet, my friends. Let's savor it.
Notes
Recipe Notes
Use an active starter: This recipe calls for active, bubbly sourdough starter rather than discard.
Watch your dough, not your clock: Sourdough fermentation times can vary wildly depending on the temperature of your kitchen. Your dough is ready for the refrigerator when it has increased by roughly 50–75%, even if that takes more or less than 4 hours.
Don't skip the overnight rest: Besides making the dough easier to divide and shape, the long, cold rest gives the sourdough time to develop more flavor.
No hot dog bun pan? No worries. Shape the dough into approximately 4-inch logs and place them on a parchment-lined baking sheet. Homemade doesn't have to mean perfectly identical.
Kitchen scale highly recommended: Bread is one of those places where weighing your ingredients really is worth the extra 30 seconds. It gives you much more consistent results—and conveniently saves us from arguing over what exactly constitutes a "cup" of flour.