Homemade Flaky Buttermilk Biscuits (Worth the Flour-Covered Kitchen)
You guys, I know I’m older. Gen X all day over here, and that means there are certain things I still absolutely adore that the younger generations don’t seem quite as excited about.
Like magazines.
Oh, how I LOVE magazines.
And I’m not talking about scrolling through a digital edition on my phone. Nope. I want actual paper pages. I want to flip through them with a cup of coffee, fold down the corners of things I want to try, and occasionally leave a magazine sitting on the kitchen counter for three weeks because I’m not quite finished loving it.
Before Ivy was born, her dad and I used to visit this amazing store that carried thousands of magazines from all over the world. It was glorious. I could happily lose an entire afternoon wandering through the aisles, discovering things I didn’t even know I needed to know about.
Sadly, the good old-fashioned newsstand has become something of an endangered species.
But there are still a few wonderful magazines hanging on, and one of my absolute favorites is Bake from Scratch.
Friends, if you love baking and you’ve never picked up a copy, you might want to make yourself a little room on the coffee table.
On a recent bookstore adventure, I discovered an issue devoted to biscuits.
BISCUITS.
Did I buy it? You bet your sweet butter I did.
Will I eventually try every recipe in that magazine? There’s a very good possibility.
But before I start playing mad scientist in my kitchen, I figured I should make a batch of good old-fashioned homemade buttermilk biscuits to satisfy the craving that magazine had so rudely planted in my brain.
And boy, am I glad I did.
There’s Just Something About Homemade Biscuits
I’m going to say something that might sound a little contradictory.
Biscuits are easy-ish.
There aren’t a million ingredients. You don’t need yeast, you don’t have to wait for dough to rise, and there’s no fancy equipment involved. Just a bowl, a pastry cutter, and a little patience.
But they do require some attention.
The butter needs to be cold. The dough needs a gentle touch. And if you want those beautiful, flaky layers that practically beg you to pull them apart and slather them with butter, you need to give the dough a little extra love.
Which is probably why homemade biscuits aren’t in our regular rotation.
They’re not difficult, exactly. They’re just not something I usually decide to throw together while standing in front of the refrigerator at 5:30 wondering what on earth we’re having for dinner.
But every once in a while, they’re absolutely worth the effort.
Especially when Ivy’s dad takes one bite, looks at you, and announces, “Honey, you should totally make these more often.”
Well, alrighty then.
Never mind that I was covered in flour, my kitchen looked like a small baking supply store had exploded, and my messy bun was giving a whole new meaning to the word messy.
I’d made someone I love happy.
And really, isn’t that one of the best reasons to bake?
The Secret to Tender, Flaky Buttermilk Biscuits
Now, before we get started, there are a few little things that make all the difference between a lovely, tender biscuit and something that could double as a hockey puck.
And since I live in Colorado, I feel like hockey pucks are a particularly relevant comparison.

First, keep that butter COLD.
We’re talking straight-from-the-refrigerator cold. When those little pieces of butter hit the heat of the oven, the water in them turns to steam, helping create those gorgeous flaky layers.
If your butter melts into the dough before it gets to the oven, you’re missing out on some of that magic.
Second, don’t overwork your dough.
I’m serious about this one, friends.
Biscuit dough is not bread dough. It doesn’t want to be kneaded and stretched and worked into submission.
It wants to be handled like a newborn baby.
Gently. Lovingly. And preferably without anyone yelling.
Once the buttermilk goes in, stir just until the dough starts coming together. It should look shaggy and a little rough around the edges.
That’s exactly what we want.

Third, we’re going to make some layers.
This is my favorite part.
Instead of kneading the dough, we’re going to pat it into a rectangle, cut it into four pieces, stack them, and repeat.
Think of it like folding a fluffy little blanket over itself.
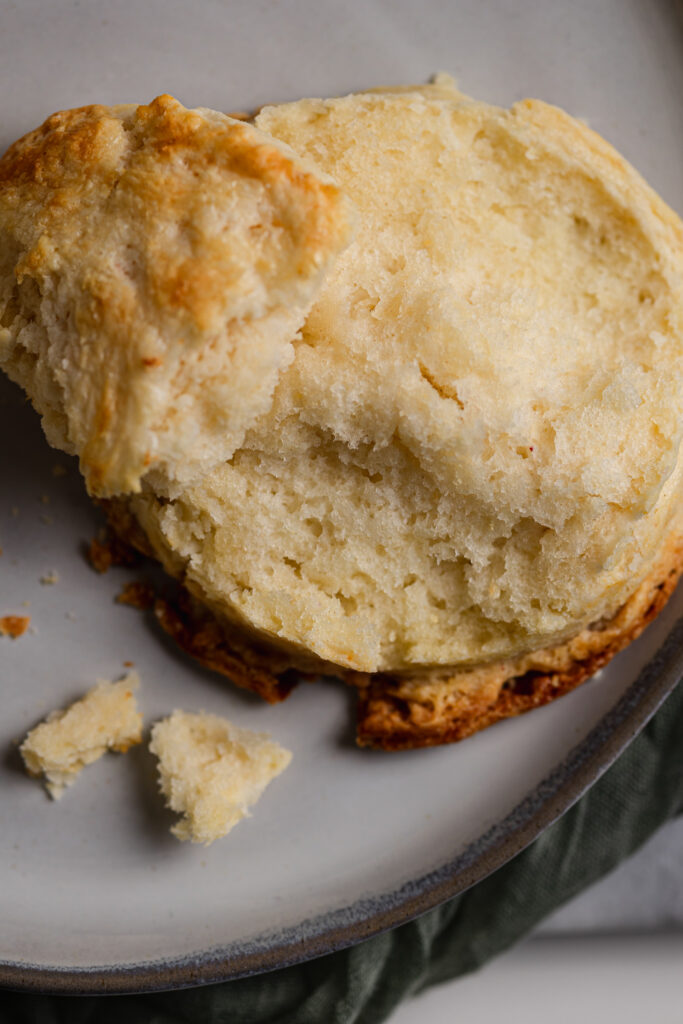
Each stack creates more layers, and those layers are what give you those beautiful biscuits that pull apart so nicely.
And finally?
We’re putting our biscuits in the freezer before baking.
I know. It sounds a little weird.
But those 15 minutes help firm up the butter again after all that handling. It’s a little insurance policy for our flaky layers.
Plus, it’s just enough time to preheat the oven and clean up some of the flour you’ve managed to scatter across the kitchen.
Or make another cup of coffee.
I’m not here to judge.

Homemade Flaky Buttermilk Biscuits
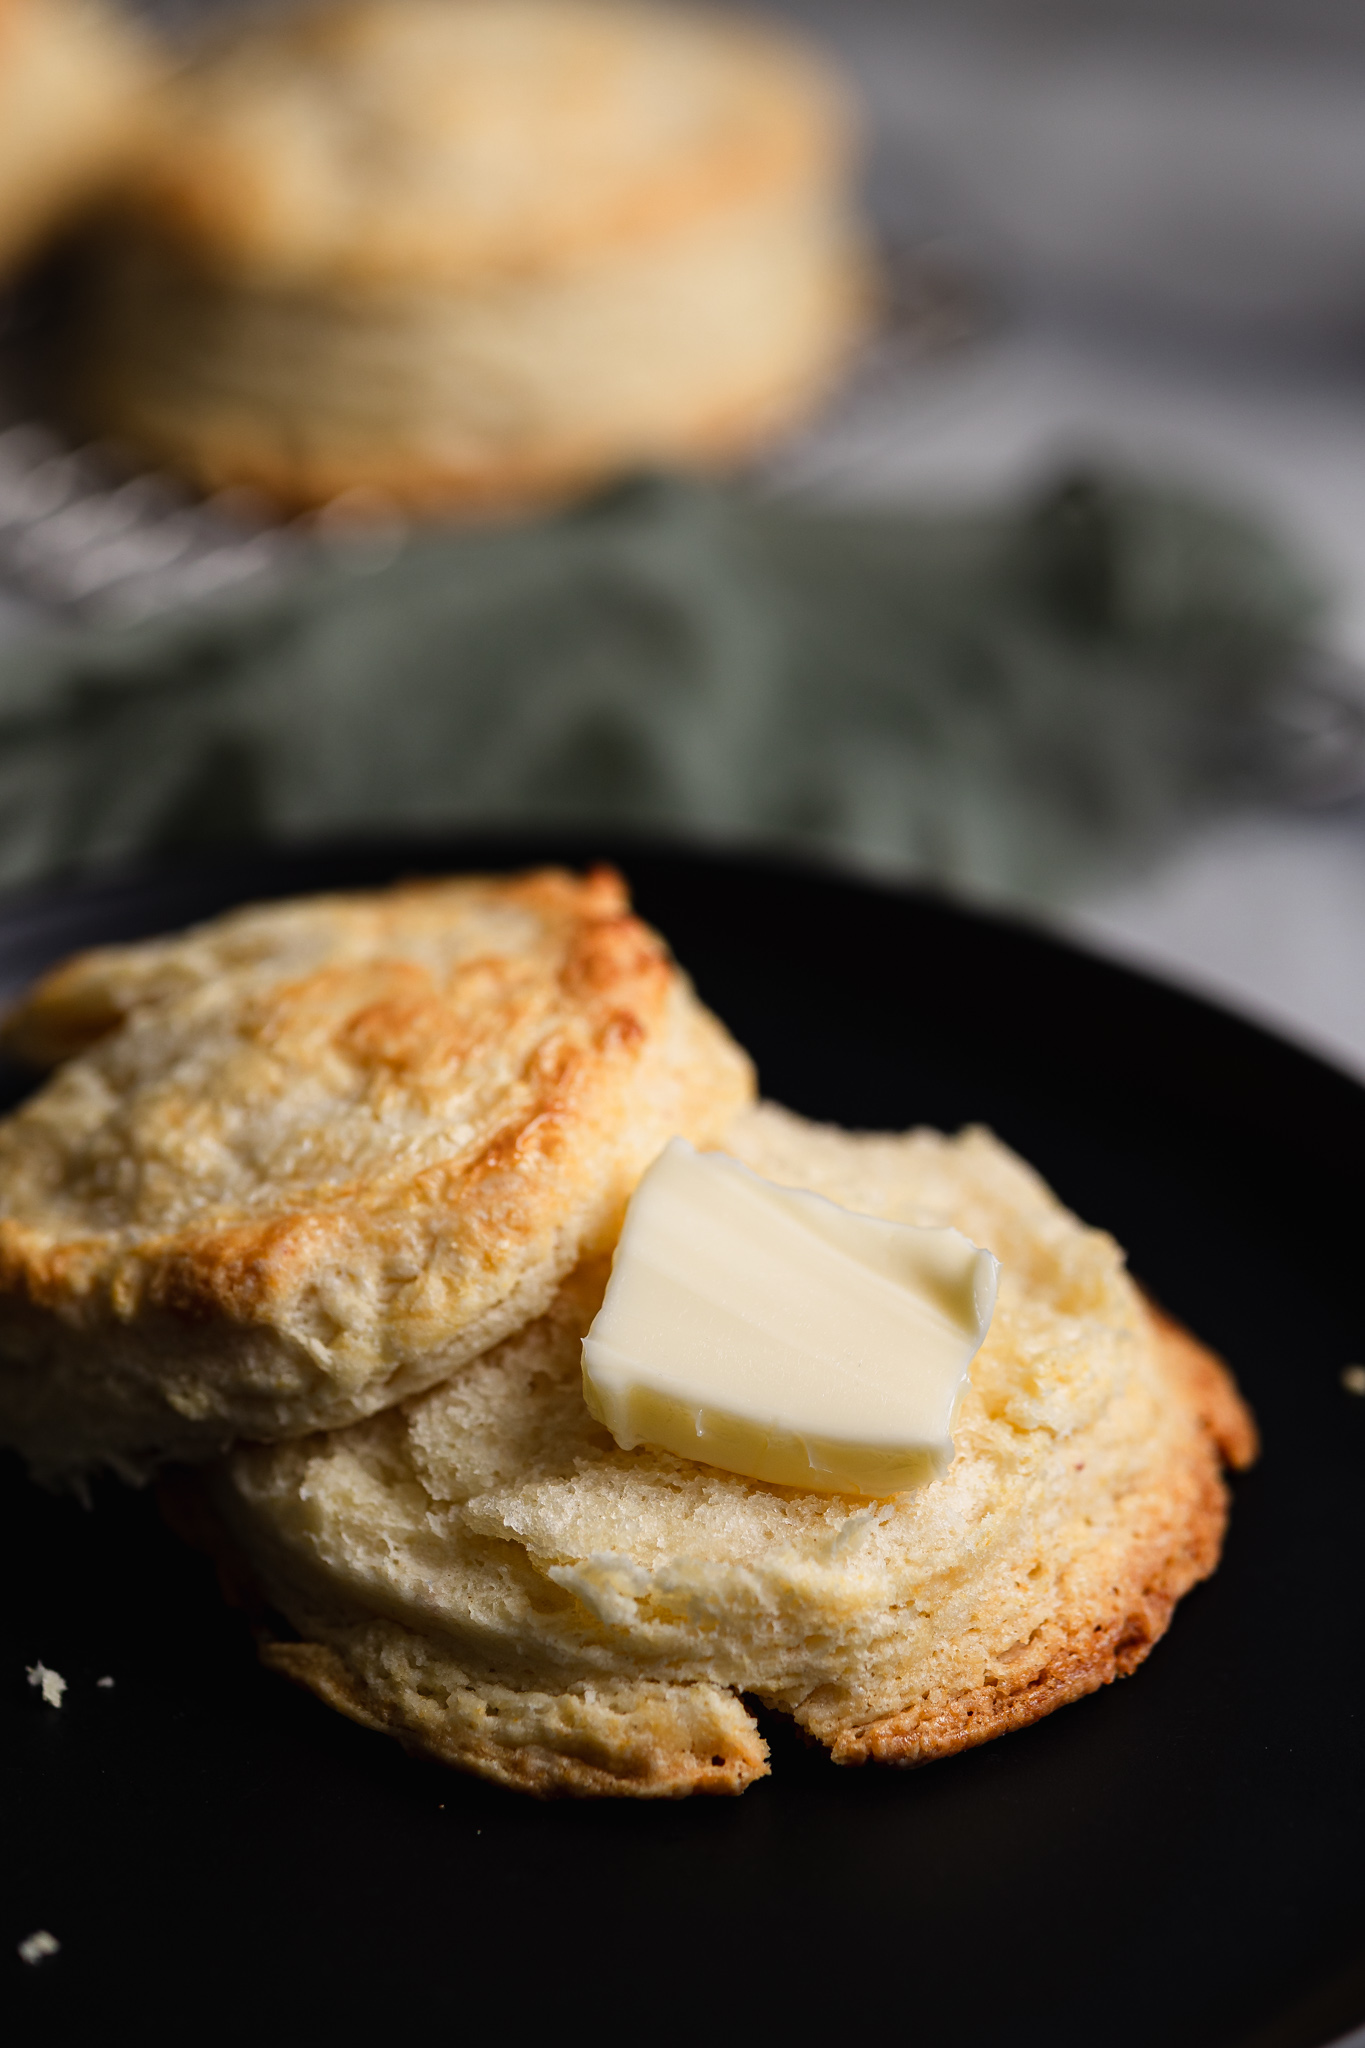
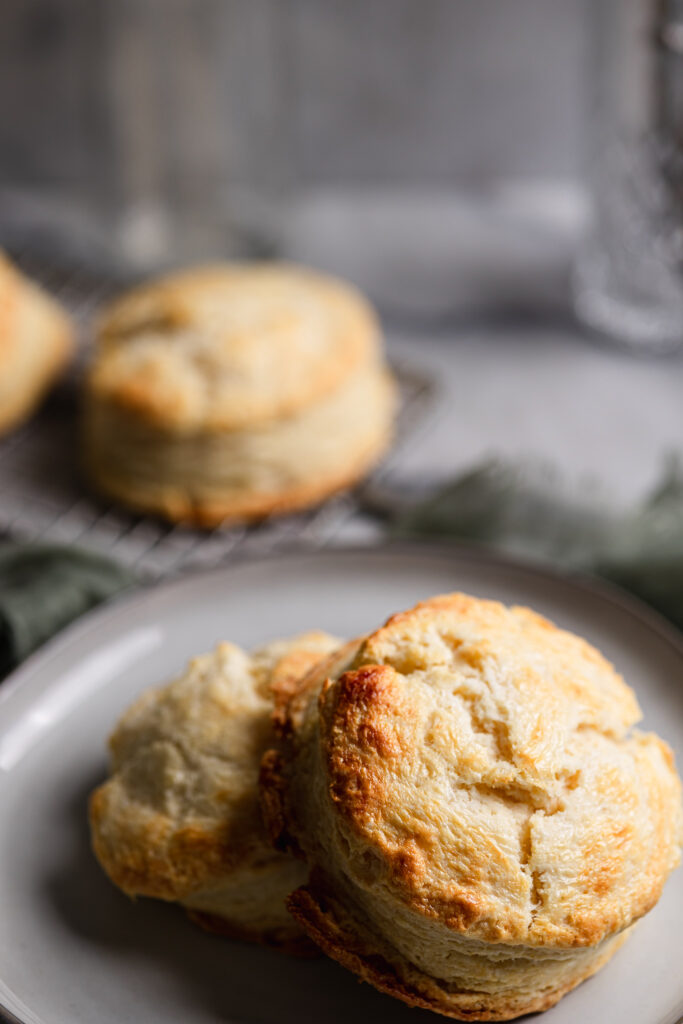
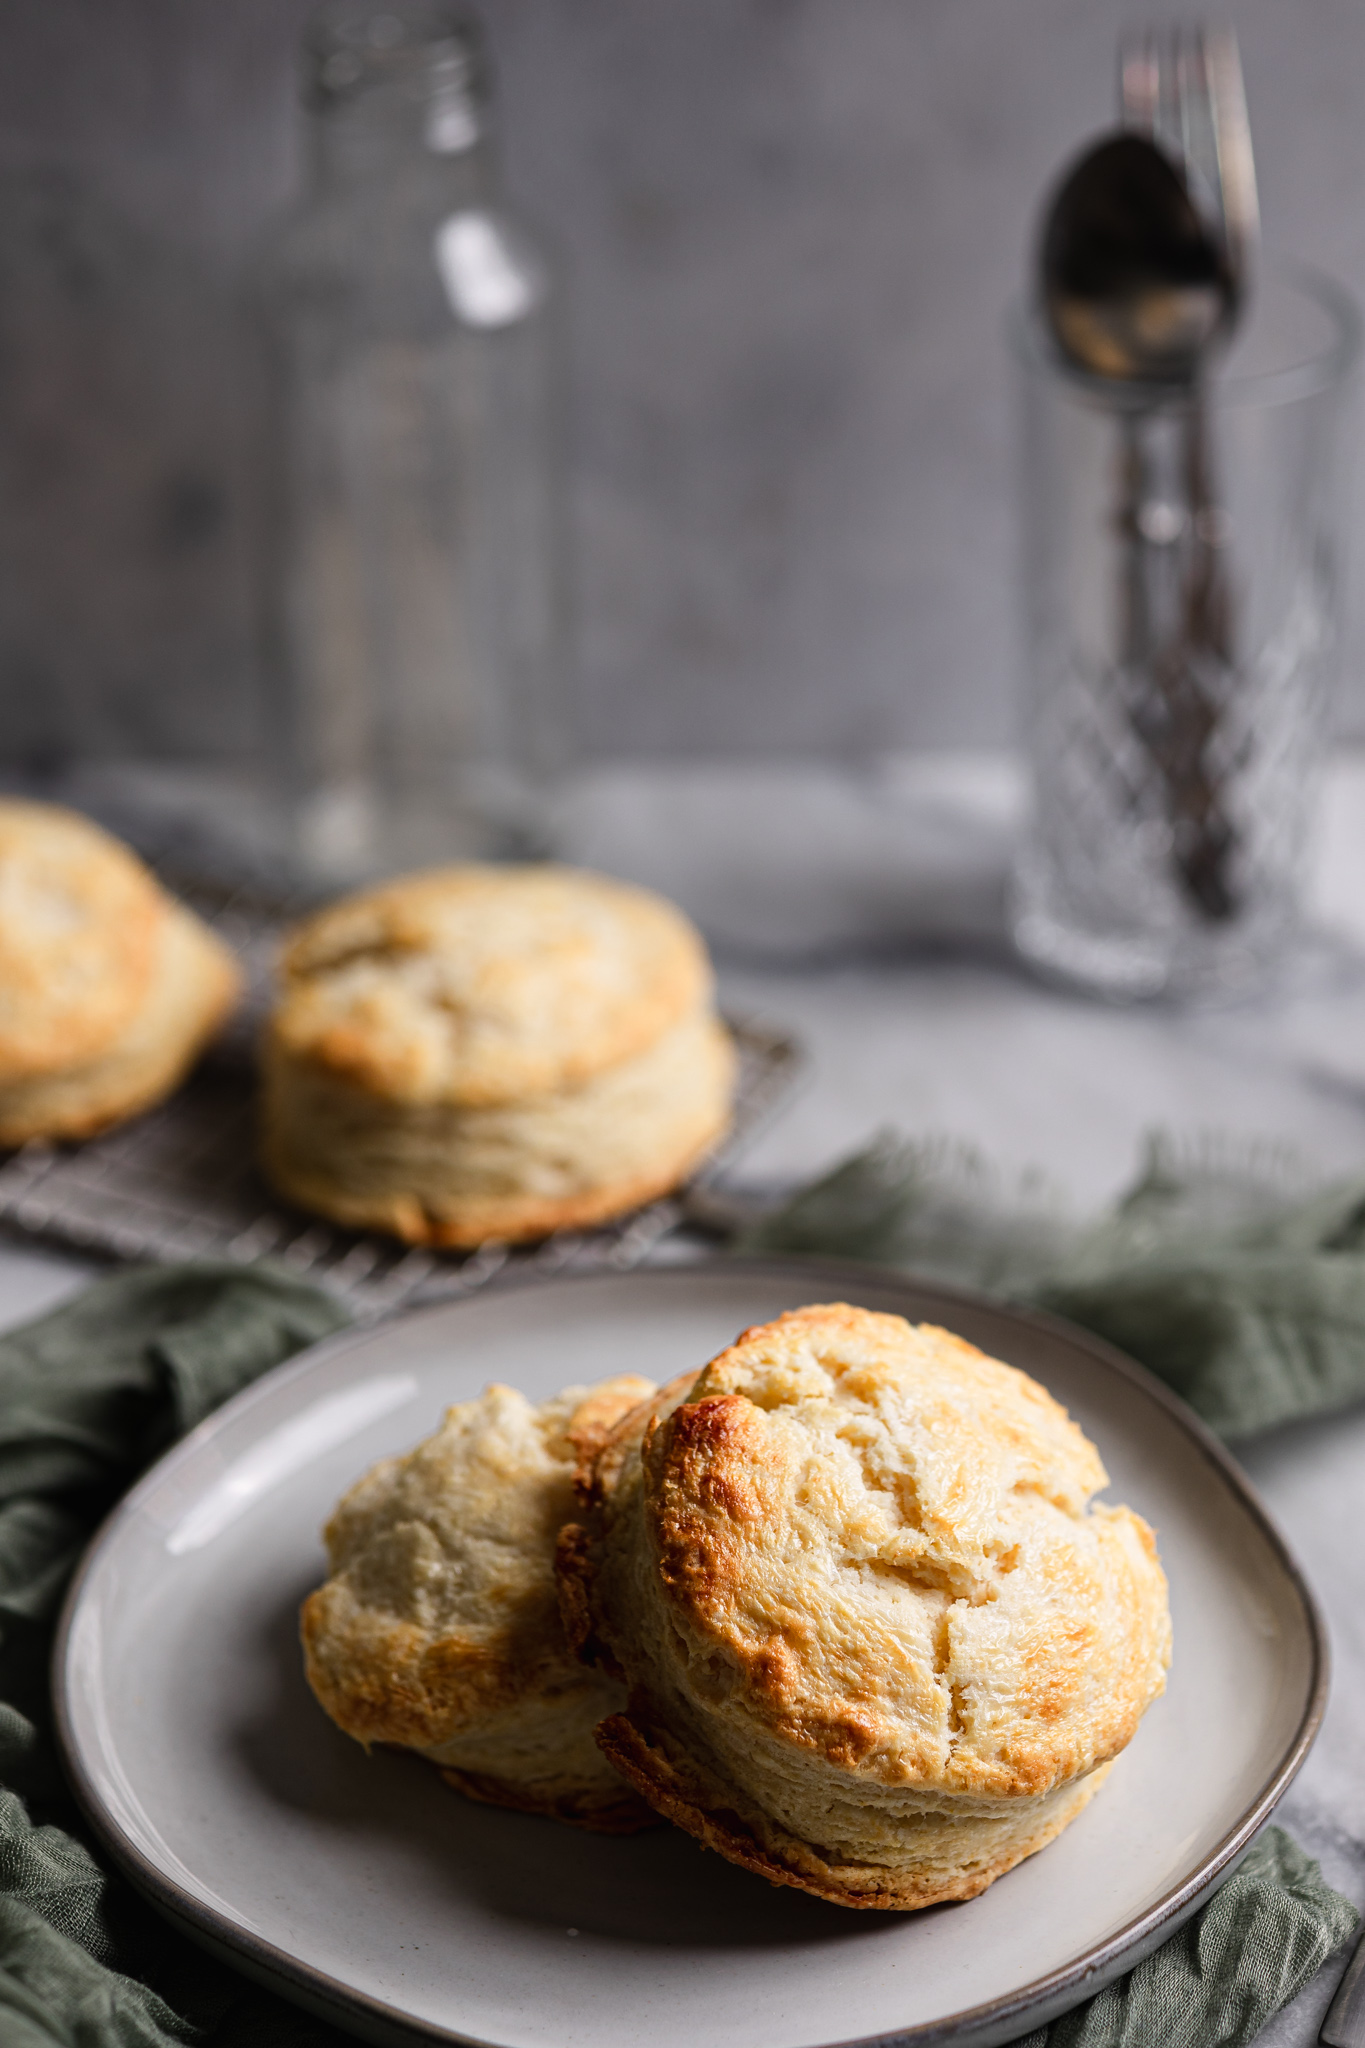
These old-fashioned buttermilk biscuits are tender on the inside, golden on the outside, and filled with buttery, flaky layers. They’re wonderful with a little honey butter, homemade jam, or a generous helping of sausage gravy.
And yes, they’re absolutely worth getting flour all over your kitchen.
Ingredients
- 3 ½ cups cake flour
- 2 tablespoons granulated sugar
- 1 tablespoon baking powder
- 1 teaspoon kosher salt
- ½ teaspoon baking soda
- 1 ¼ cups cold salted butter, cubed
- 1 cup cold buttermilk
- Heavy cream, for brushing the tops
Instructions
1. Get your dry team together.
Grab yourself a pretty large mixing bowl. And when I say large, I mean bigger than you think you’ll need.
Cutting butter into flour can be a surprisingly messy business, and we’re going to give ourselves a little room to work.
Add the cake flour, sugar, baking powder, kosher salt, and baking soda. Give everything a good whisk until it’s nicely combined.
2. Work in the butter.
Add your super cold, cubed butter to the flour mixture.
Using a pastry cutter, work the butter into the dry ingredients until the mixture looks like coarse sand with some pea-sized pieces of butter scattered throughout.
This is going to take a little elbow grease.
We’re calling it our workout for the day, and I’m choosing to believe it burns off at least some of the calories we’re about to consume.
To any personal trainers reading this, I know perfectly well that’s not how it works.
Please let me have this.
3. Add the buttermilk. Gently!
Pour your cold buttermilk into the flour and butter mixture.
Using a wooden spoon or spatula, gently stir until a shaggy dough begins to form.
And then STOP.
Seriously. Put the spoon down.
We don’t want a perfectly smooth dough. We want something that looks a little scruffy but holds together when pressed.
4. Let’s make those flaky layers.
Turn your dough out onto a very lightly floured work surface.
Using your hands, gently pat it into a rectangle about 1 inch thick. No kneading, friends. We’re patting, not punishing.
Grab your handy-dandy bench knife and cut the rectangle into four equal pieces.
Stack those four pieces on top of each other, turn the stack 90 degrees, and gently pat it back into another rectangle.
Cut it into four pieces and stack again.
Repeat this process two more times, for a total of four stacking rounds.
This is how we’re building all those lovely flaky layers without overworking the dough.
5. Cut your biscuits.
After your final stack, gently pat the dough to about 1 inch thick.
Using a biscuit cutter, press STRAIGHT DOWN into the dough.
No twisting!
Twisting the cutter can seal the edges of your biscuits and make it harder for those beautiful layers to rise.
Place your cut biscuits onto a baking sheet.
And please, don’t waste that dough. Gather your scraps, gently press them together, and cut as many additional biscuits as you can.
They might not be quite as pretty as the first batch, but they’ll still taste wonderful.
6. Time for a little freezer vacation.
Place your baking sheet of biscuits into the freezer for 15 minutes.
Yes, the freezer.
Trust me here.
While they’re chilling, preheat your oven to 375°F.
7. Brush and bake.
Remove your biscuits from the freezer and lightly brush the tops with heavy cream.
This helps give them that beautiful golden finish.
Pop them into your preheated oven and bake for approximately 20 minutes, or until the tops and bottoms are golden brown.
8. The best part.
Let the biscuits cool on the baking sheet for a few minutes.
Then split one open and admire those gorgeous layers.
Add butter and honey, honey butter, jam, sausage gravy, or whatever makes your heart sing.
Personally, I think a warm biscuit with butter and honey is one of life’s great little pleasures.
A Few Biscuit-Making Tips From My Flour-Covered Kitchen
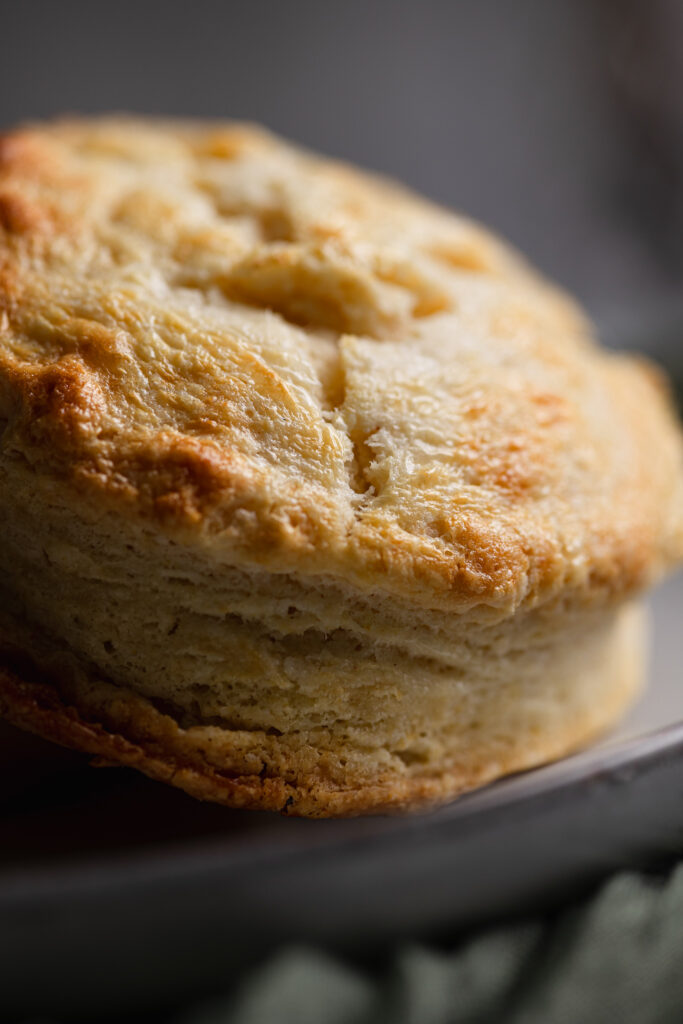
Cake flour makes these extra tender. Its lower protein content helps create a soft, delicate biscuit. It’s one of the reasons these have such a lovely texture.
Cold ingredients are your friends. Keep your butter and buttermilk refrigerated until you’re ready to use them. If your kitchen is especially warm, don’t be afraid to give your dough a little extra chill before cutting.
Don’t twist your biscuit cutter. I know I’ve already said it, but this one bears repeating. Press straight down and lift straight up.
Those scrappy biscuits deserve love, too. Biscuits made from gathered scraps might not rise quite as evenly, but they’re every bit as deserving of butter and honey.
Watch for that golden bottom. We want the tops to be lovely and golden, but the bottoms should be nicely baked, too. Nobody wants a doughy-bottomed biscuit.
A Little More Time Around the Table
There’s something about homemade biscuits that makes an ordinary meal feel a little more special.
Maybe it’s the way they fill the kitchen with that buttery, freshly baked smell. Maybe it’s the excuse to put out the honey and jam and linger a little longer over breakfast.
Or maybe it’s simply that somebody took the time to make them.
I know I won’t be making homemade biscuits every morning. Between work, family, and all the other things that seem to fill up our days, sometimes breakfast is whatever we can grab on the way out the door.
And that’s perfectly fine.
But every once in a while, it’s nice to slow down, pull out the big mixing bowl, and make something just because it’ll bring a little joy to someone you love.
Even if it means getting flour in your hair.
As for that biscuit magazine?
It’s sitting here waiting for me, and I’ve got a feeling there are going to be quite a few more biscuit experiments in our future.
I’ll keep you posted.
In the meantime, if you’ve got someone in your life who would light up at the sight of a basket of warm, homemade biscuits, I think you should make these.
And if that someone happens to be you?
Well, that’s a perfectly wonderful reason, too.
Happy baking, friends!
Homemade Flaky Buttermilk Biscuits
Ingredients
Equipment
Method
- Combine the dry ingredients. In a large mixing bowl, whisk together the cake flour, sugar, baking powder, kosher salt, and baking soda.
- Cut in the butter. Add the cold, cubed butter. Using a pastry cutter, work the butter into the flour mixture until it resembles coarse sand with some pea-sized pieces of butter remaining.
- Add the buttermilk. Pour in the cold buttermilk and gently stir until a shaggy dough begins to form. Do not overmix.
- Begin the layering process. Turn the dough onto a lightly floured work surface. Gently pat into a rectangle approximately 1 inch thick. Using a bench knife, cut the dough into four equal pieces and stack them on top of one another.
- Create the flaky layers. Rotate the stacked dough 90 degrees and gently pat it into another rectangle. Cut into four pieces and stack again. Repeat until you have completed four stacking rounds total.
- Cut the biscuits. Gently pat the dough to approximately 1 inch thick. Using a 2½-inch biscuit cutter, press straight down without twisting. Transfer the biscuits to a baking sheet. Gently gather any scraps and cut additional biscuits.
- Chill. Place the baking sheet in the freezer for 15 minutes. Meanwhile, preheat the oven to 375°F (190°C).
- Brush and bake. Remove the biscuits from the freezer and lightly brush the tops with heavy cream. Bake for approximately 20 minutes, until golden brown on the tops and bottoms.
- Cool and serve. Allow the biscuits to cool briefly on the baking sheet. Split and serve warm with butter, honey, jam, or gravy.