
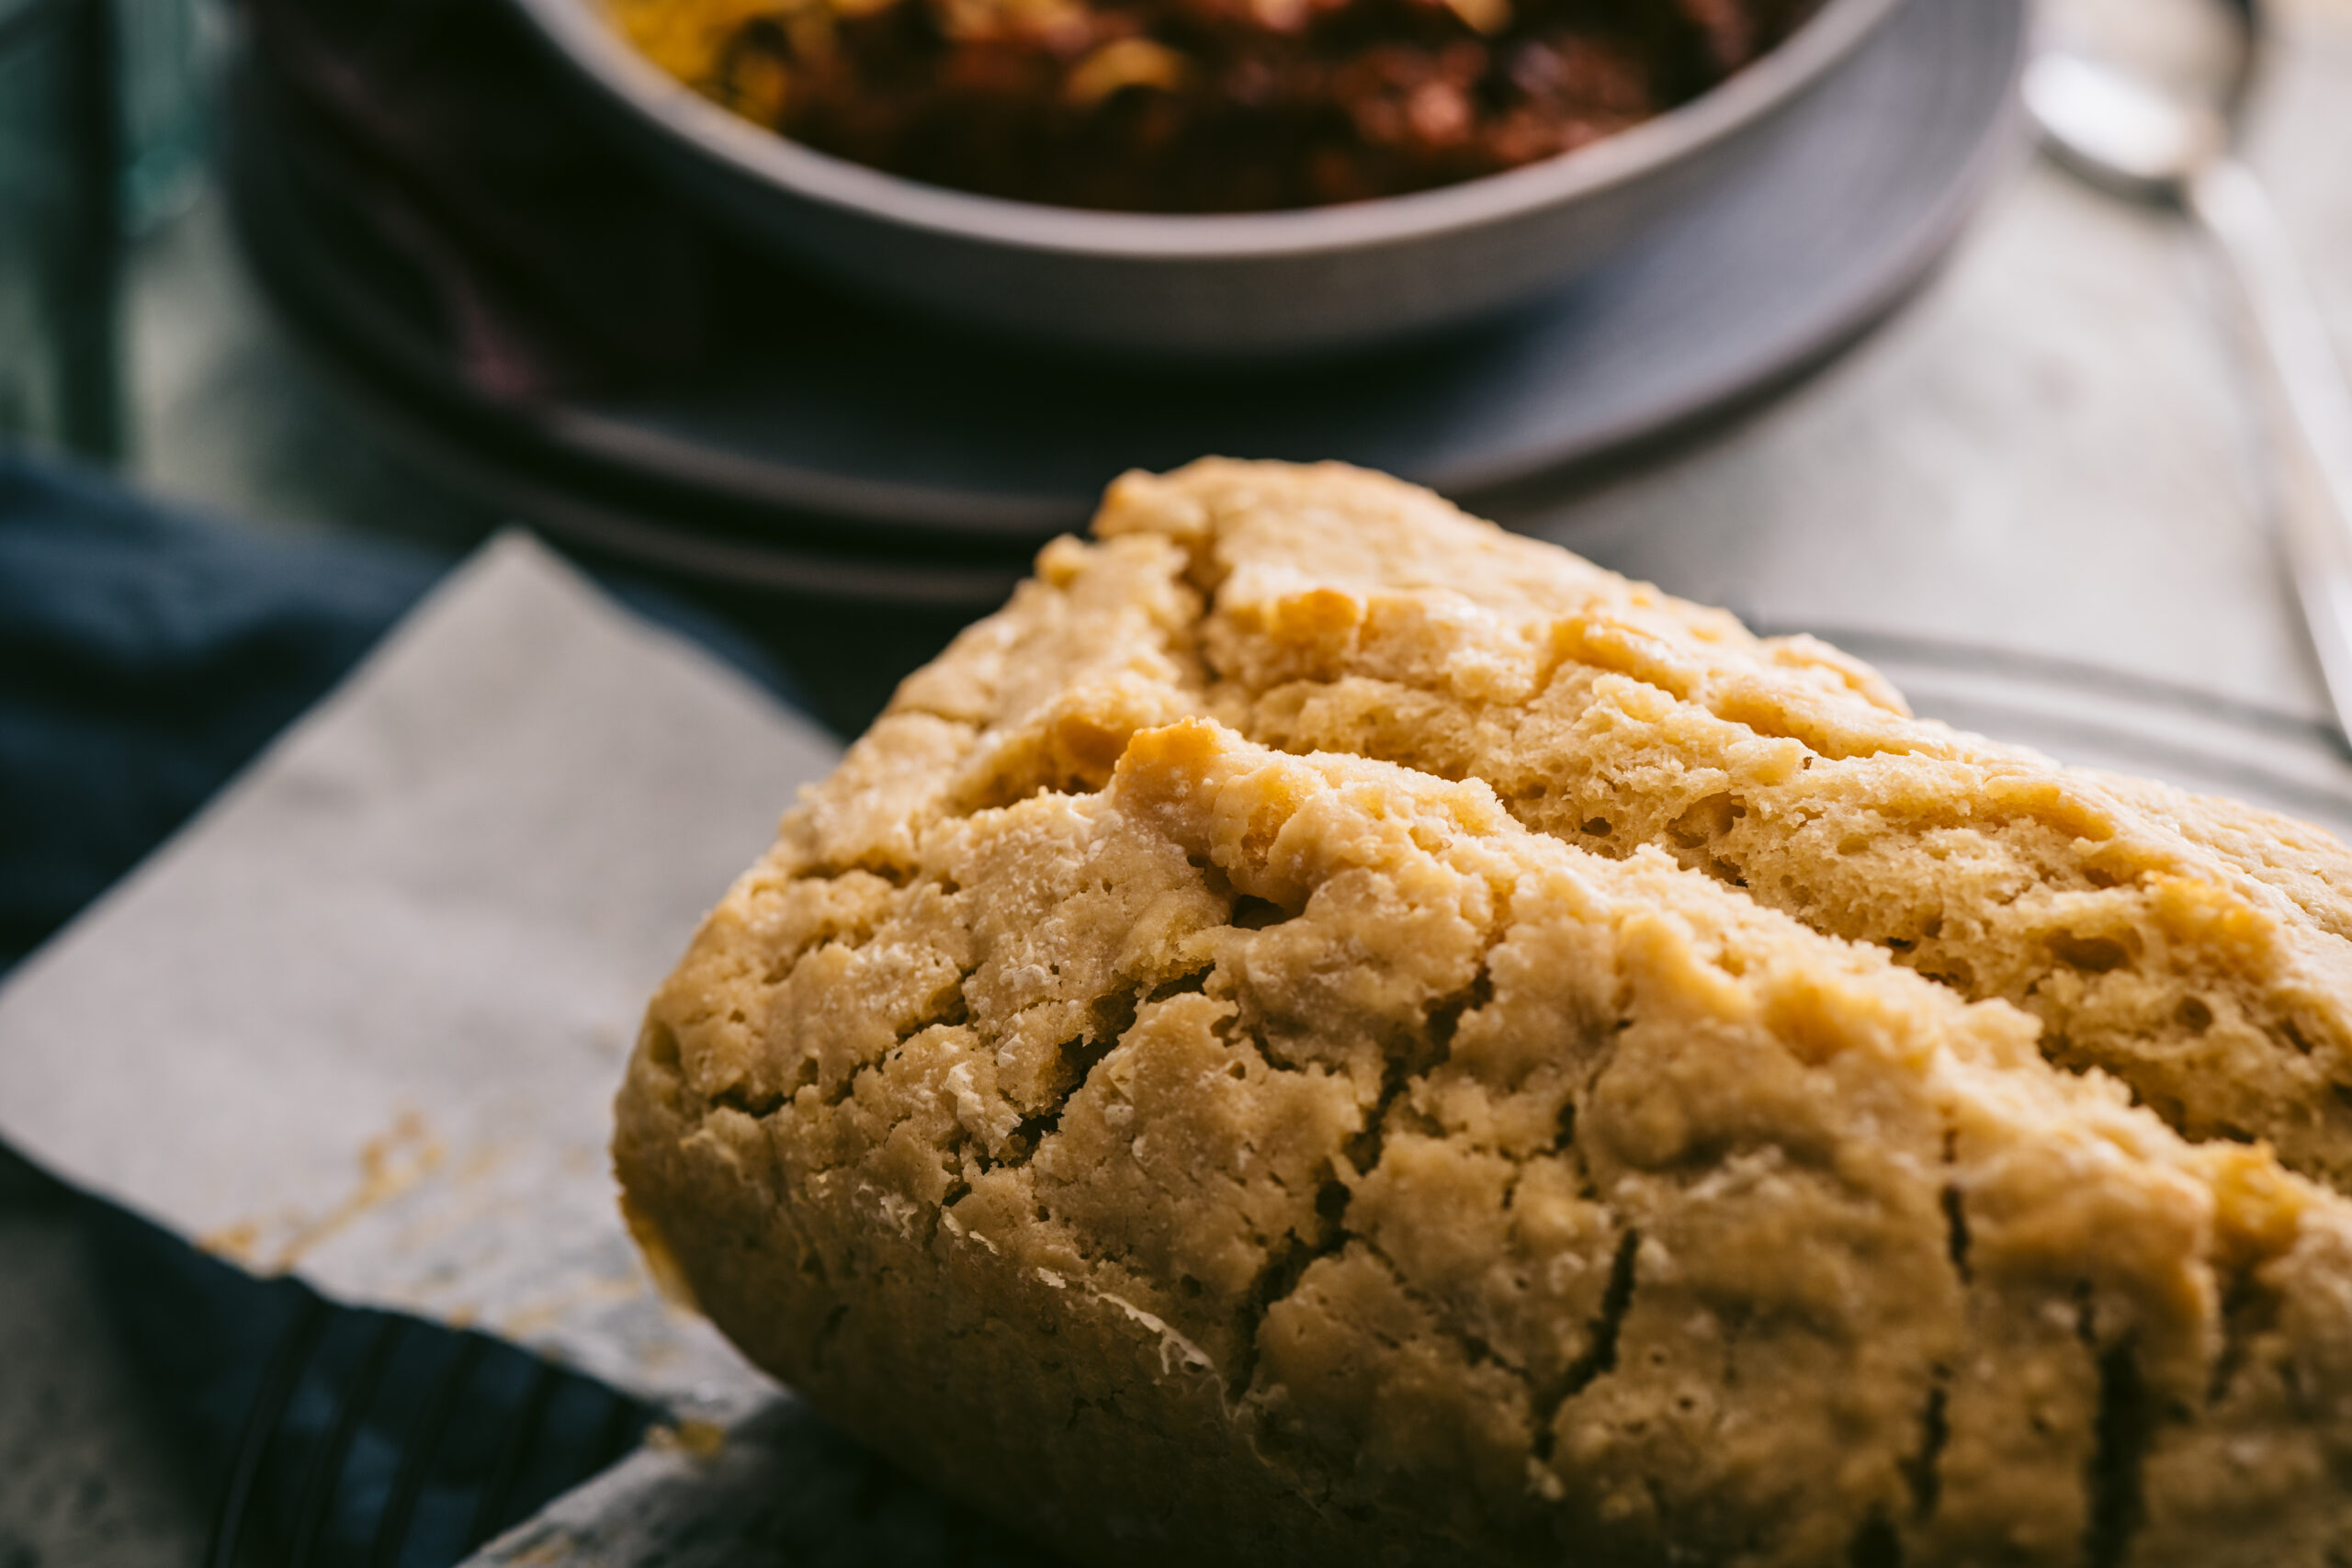
Pumpkin Beer Bread (The Easiest Bread You’ll Make This Fall)
Hello, beautiful friends!
Fall is upon us for reals this time. The weather is crisp, the leaves are crunchy, and the boys are yelling at the TV during football games.

I love fall! There’s just something about this time of year that makes me want to put on my favorite cozy sweater, get something bubbling away in the kitchen, and settle in for the afternoon. Preferably with a good book and absolutely nowhere I need to be.
Last week, I shared a yummy chili recipe with you, and I promised you a beer bread recipe to go with it. Well, friends, I keep my promises. Especially when they involve bread.
And butter. Lots of butter.
Homemade Bread Without All the Fuss
You guys know I bake a lot of bread.
Bread that needs babysitting (hi, sourdough, looking at you). Bread that’s purely utilitarian, like our everyday sandwich bread. Bread that’s fancy enough to make you feel like you should be serving it with a linen napkin and a little dish of fancy European butter.
I love all of it.
But I also know that baking bread can feel a little intimidating if you’ve never done it before. There’s the whole blooming yeast thing. Proofing dough. Feeding sourdough starters that sometimes act like temperamental toddlers. Developing gluten. Windowpane tests. It’s enough to make someone put down the flour and head straight for the bakery. And I get it.
(For the record, none of those things are really as scary as they sound, but those are conversations for other blog posts.)
Today, we’re making bread that requires absolutely none of that.
No yeast to bloom. No kneading. No waiting around for dough to rise. No wondering whether your sourdough starter is having a good day. Just a bowl, a wooden spoon, a handful of ingredients, and a bottle of beer. That’s it.
And the best part? Your family and neighbors will oooh and ahh like you’re the reincarnation of Kitchen Houdini. You’ll take your bow, knowing full well that this was basically a dump-and-stir situation. But a magician never reveals her secrets.

Why Pumpkin Beer?
Well, because it’s fall, silly!
I love all the seasonal things that show up this time of year. The apple cider, the cozy soups, the pumpkins sitting on every available porch, and the seasonal beers that seem to appear the moment the first leaf turns orange.
Pumpkin beer is especially fun in this recipe because it can bring those warm, slightly spicy fall flavors into the bread without us having to measure out a bunch of additional ingredients.
And before you start worrying that this is going to taste like a loaf of pumpkin pie, don’t. We’re not adding pumpkin purée or pumpkin pie spice here. The flavor comes from the beer itself, and how much pumpkin or spice you taste will depend on the one you choose.
What you’ll get is a hearty, buttery loaf with a little sweetness from the honey and whatever personality your beer brings to the party.
But here’s the beautiful thing. You don’t have to use pumpkin beer. Use whatever beer you enjoy. A lager, an amber ale, or even a stout if you’re feeling adventurous. Each one will give your bread a slightly different flavor. Consider this recipe an invitation to play a little.
Let’s Talk About That Butter
Friends, we’re using an entire stick of butter on top of this bread.
Yes. The whole thing. And no, I didn’t accidentally type that twice.
Instead of mixing the butter into the batter, we’re slicing it into little pats and laying them across the top before baking. As the bread bakes, that butter melts over the surface and around the edges, helping create a gorgeous, golden, buttery crust. It’s a little ridiculous. It’s also wonderful.
One small word of caution, though. All that melted butter can get a little enthusiastic in the oven, especially if your loaf pan is on the fuller side. I like to put a sheet pan on the rack underneath the bread to catch any drips.
Because nothing ruins a cozy afternoon quite like the smell of burning butter wafting through the kitchen. Ask me how I know. Actually…don’t. Let’s just move along.
The Secret to Really Good Beer Bread
Here’s the most important thing I can tell you about making this bread.
Don’t overmix it.
Seriously. When you add your honey and beer to the dry ingredients, you’re going to stir everything together until the flour is just incorporated. The dough will look thick. It will be lumpy. It might even look a little messy. That’s exactly what we want.
This is not the moment to take out your frustrations on the dough. Save that energy for kneading your next loaf of sourdough. The more you mix, the more gluten you develop, and that can leave you with a tougher loaf instead of the tender bread we’re after. So stir gently, put down the spoon, and embrace the lumps. They’re doing just fine.
What to Serve With Pumpkin Beer Bread
Obviously, my first answer is chili.
A big, steaming bowl of homemade chili with a thick slice of buttery beer bread alongside it is pretty much my definition of a perfect fall supper.
And if there’s a football game on in the background and nowhere else we need to be? Even better. But don’t limit yourself to chili. This bread is wonderful with creamy soups, hearty stews, or even just a little extra butter while it’s still warm. Because apparently one stick of butter wasn’t enough for us. No judgment here.
I also love the idea of putting a loaf on the table when friends come over for a casual supper. There’s something about homemade bread that makes an ordinary meal feel a little more special. It doesn’t have to be fancy. It doesn’t have to be perfect. Sometimes it’s just a warm loaf of bread, a pot of something delicious, and a reason to linger around the table a little longer.
And really, isn’t that the good stuff?


A Few Tips Before You Bake
Use a standard 9×5-inch loaf pan. Give it a good coating of cooking spray so your beautiful bread doesn’t decide to become a permanent resident of the pan.
Choose a beer you enjoy. The flavor of the beer makes a difference, so pick something you like. Just remember that different styles will bring different flavors to the finished loaf.
Measure your flour gently. Spoon it into your measuring cup and level it off rather than packing it down. Too much flour can make this bread heavier than it needs to be.
Don’t worry about the lumps. I know I’ve said this already, but it bears repeating. Lumpy batter is happy batter in this recipe.
Keep an eye on the top. We’re looking for a beautifully golden crust and a center that’s baked through. If the top is browning faster than the middle is baking, you can loosely tent it with foil.
Give it a few minutes to rest. I know, I know. Warm bread is practically calling your name from the oven. But letting it sit in the pan for 5–10 minutes makes it easier to remove.

A Little Homemade Happiness
I think sometimes we make homemade food more complicated than it needs to be.
We imagine that making something from scratch requires an entire afternoon, a perfectly organized kitchen, and a level of patience that we may or may not possess on any given Tuesday. But it doesn’t. Sometimes homemade looks like a big bowl, five ingredients, and a wooden spoon.
Sometimes it looks like flour on your sweater and a little butter bubbling over the edge of the pan. And sometimes it looks like a loaf of warm bread sitting in the middle of the table while the people you love help themselves to another slice. That’s my favorite kind of homemade.
So grab a bottle of pumpkin beer, pull out your loaf pan, and let’s make some bread. The chili’s waiting.
Happy baking, friends!

Easy Pumpkin Beer Bread
Ingredients
Equipment
Method
- Preheat your oven to 375°F. Generously coat a standard 9×5-inch loaf pan with cooking spray.
- In a large mixing bowl, combine the flour and baking powder. Stir briefly to distribute the baking powder evenly.
- Add the honey and pumpkin beer. Using a wooden spoon, gently stir until just combined and no dry streaks of flour remain. The batter will be thick and lumpy. Don’t overmix!
- Transfer the batter to the prepared loaf pan and gently smooth the top.
- Arrange the sliced butter evenly over the top of the batter.
- Place the loaf pan on a rimmed baking sheet to catch any butter that might bubble over. Trust me, friends, your oven (and your smoke detector) will thank you. Pop the whole thing onto the middle rack.
- Bake for 35–40 minutes, until the top is beautifully golden brown. Insert a toothpick into the center to check for doneness. If it comes out with wet batter, give your bread a few more minutes. We want a tender loaf, not a doughy middle.
- Remove from the oven and allow the bread to rest in the pan on a cooling rack for 5–10 minutes.
- Carefully loosen the edges if needed, remove the loaf from the pan, and transfer to a cooling rack. Slice and enjoy!