Giant NY Bakery Style Chocolate Chip Cookies
My birthday was last week, and guys…I’m 53.
Some days I’m feeling every inch of it. Other days I’m apparently still the kind of person who gets ridiculously excited over a Cookie Monster cookie jar, so I think we’re doing okay.
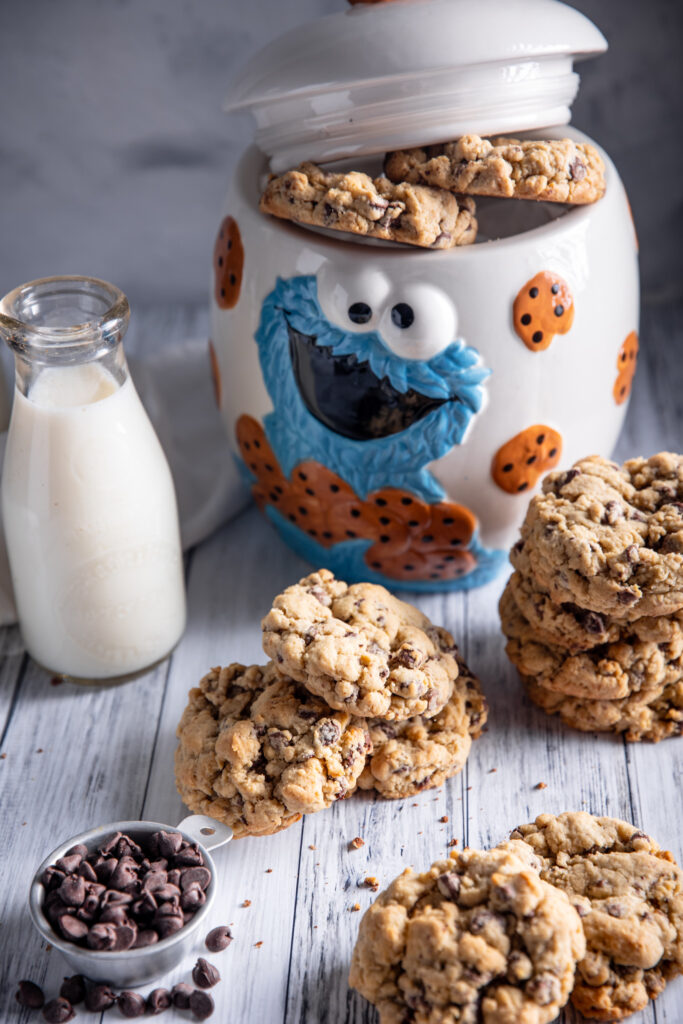
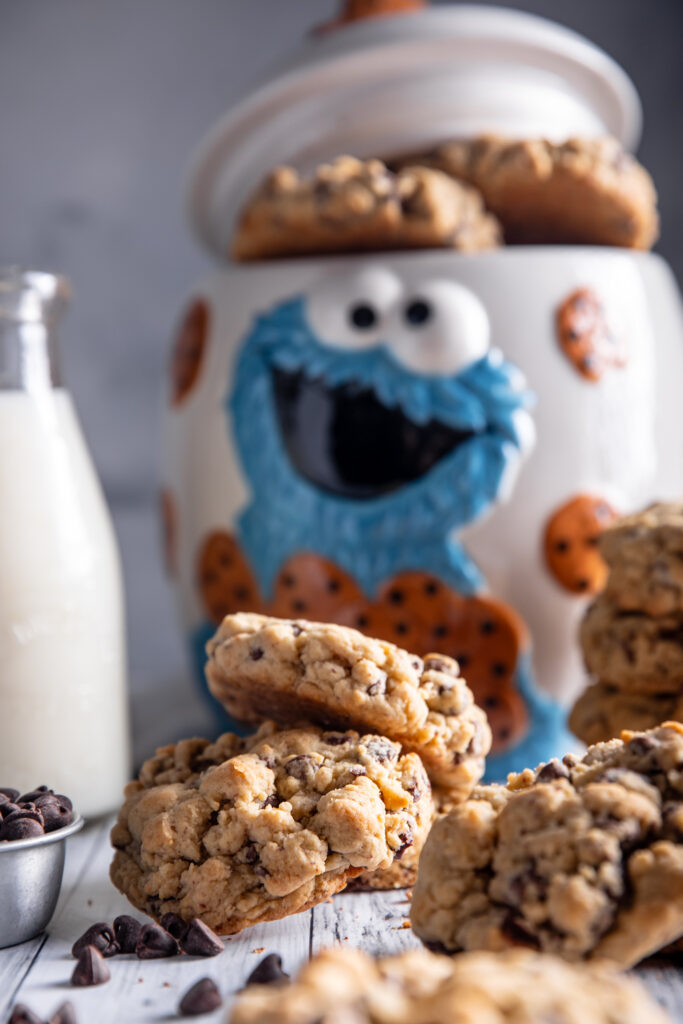
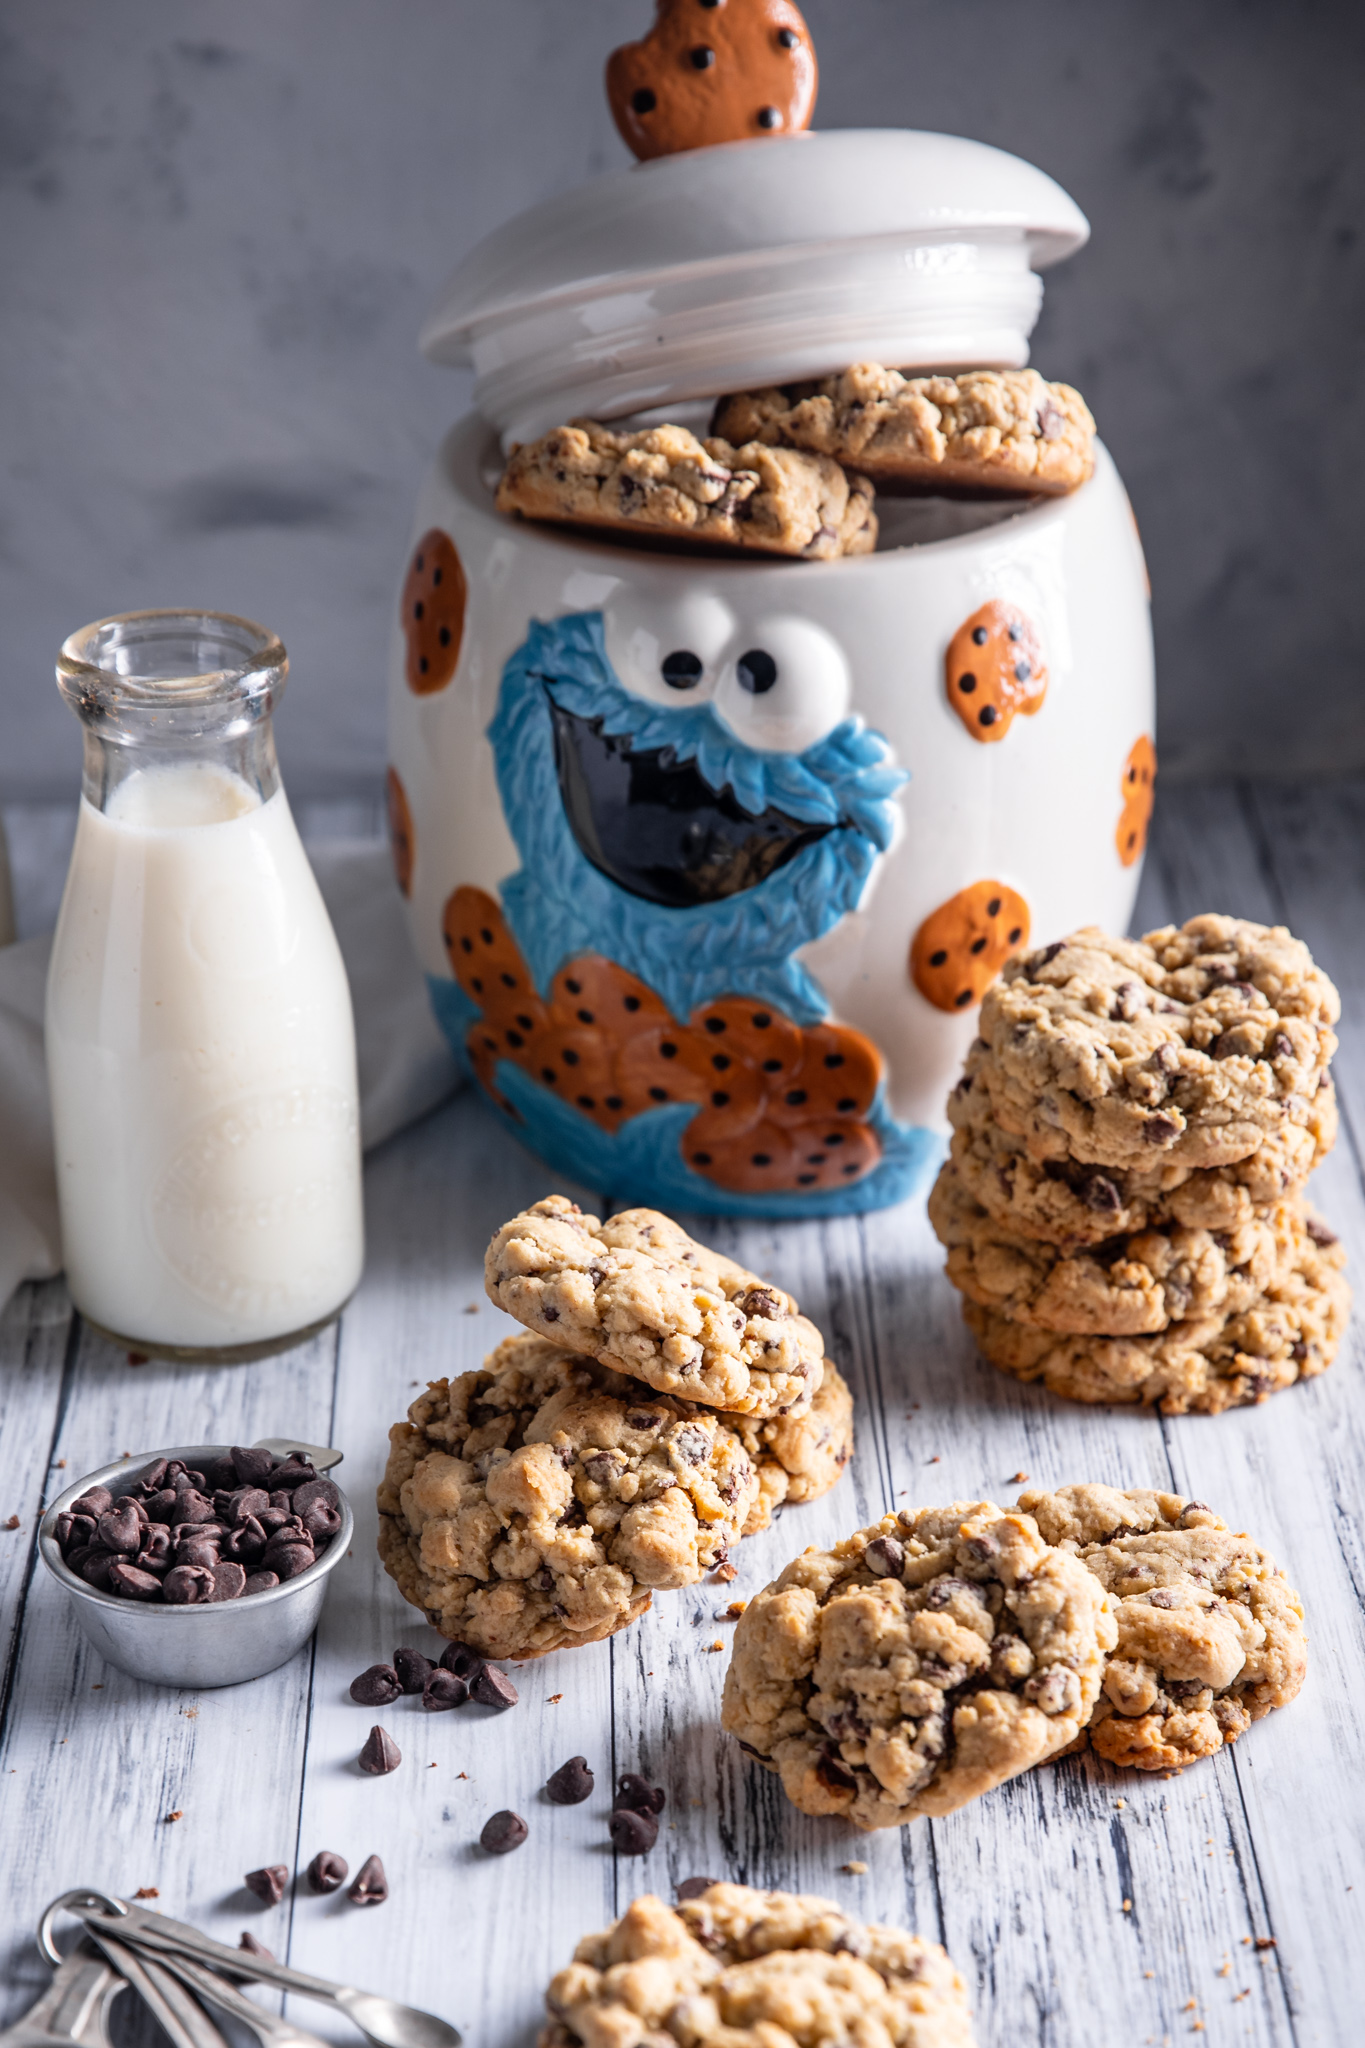
Miss Ivy brought the whimsy with her presents this year and gave me the most ADORABLE hand-painted Cookie Monster cookie jar. I am completely obsessed with him. Obviously, the minute I saw him sitting on my kitchen counter, there was only one logical next step.
He needed cookies.
And not just any cookies. If Cookie Monster was going to live in my kitchen, that jar deserved some serious chocolate chip cookies.
The Cookie Recipe I Couldn’t Leave Alone
There’s been a recipe I’ve been wrestling with for a while.
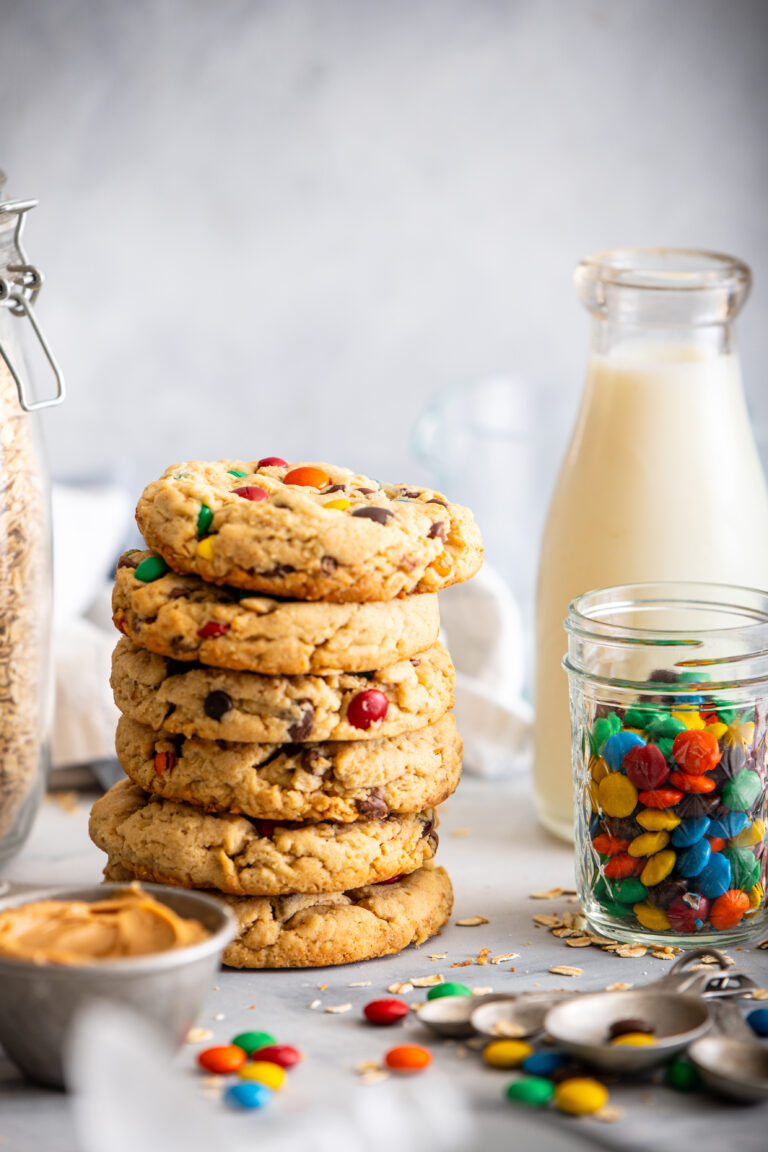
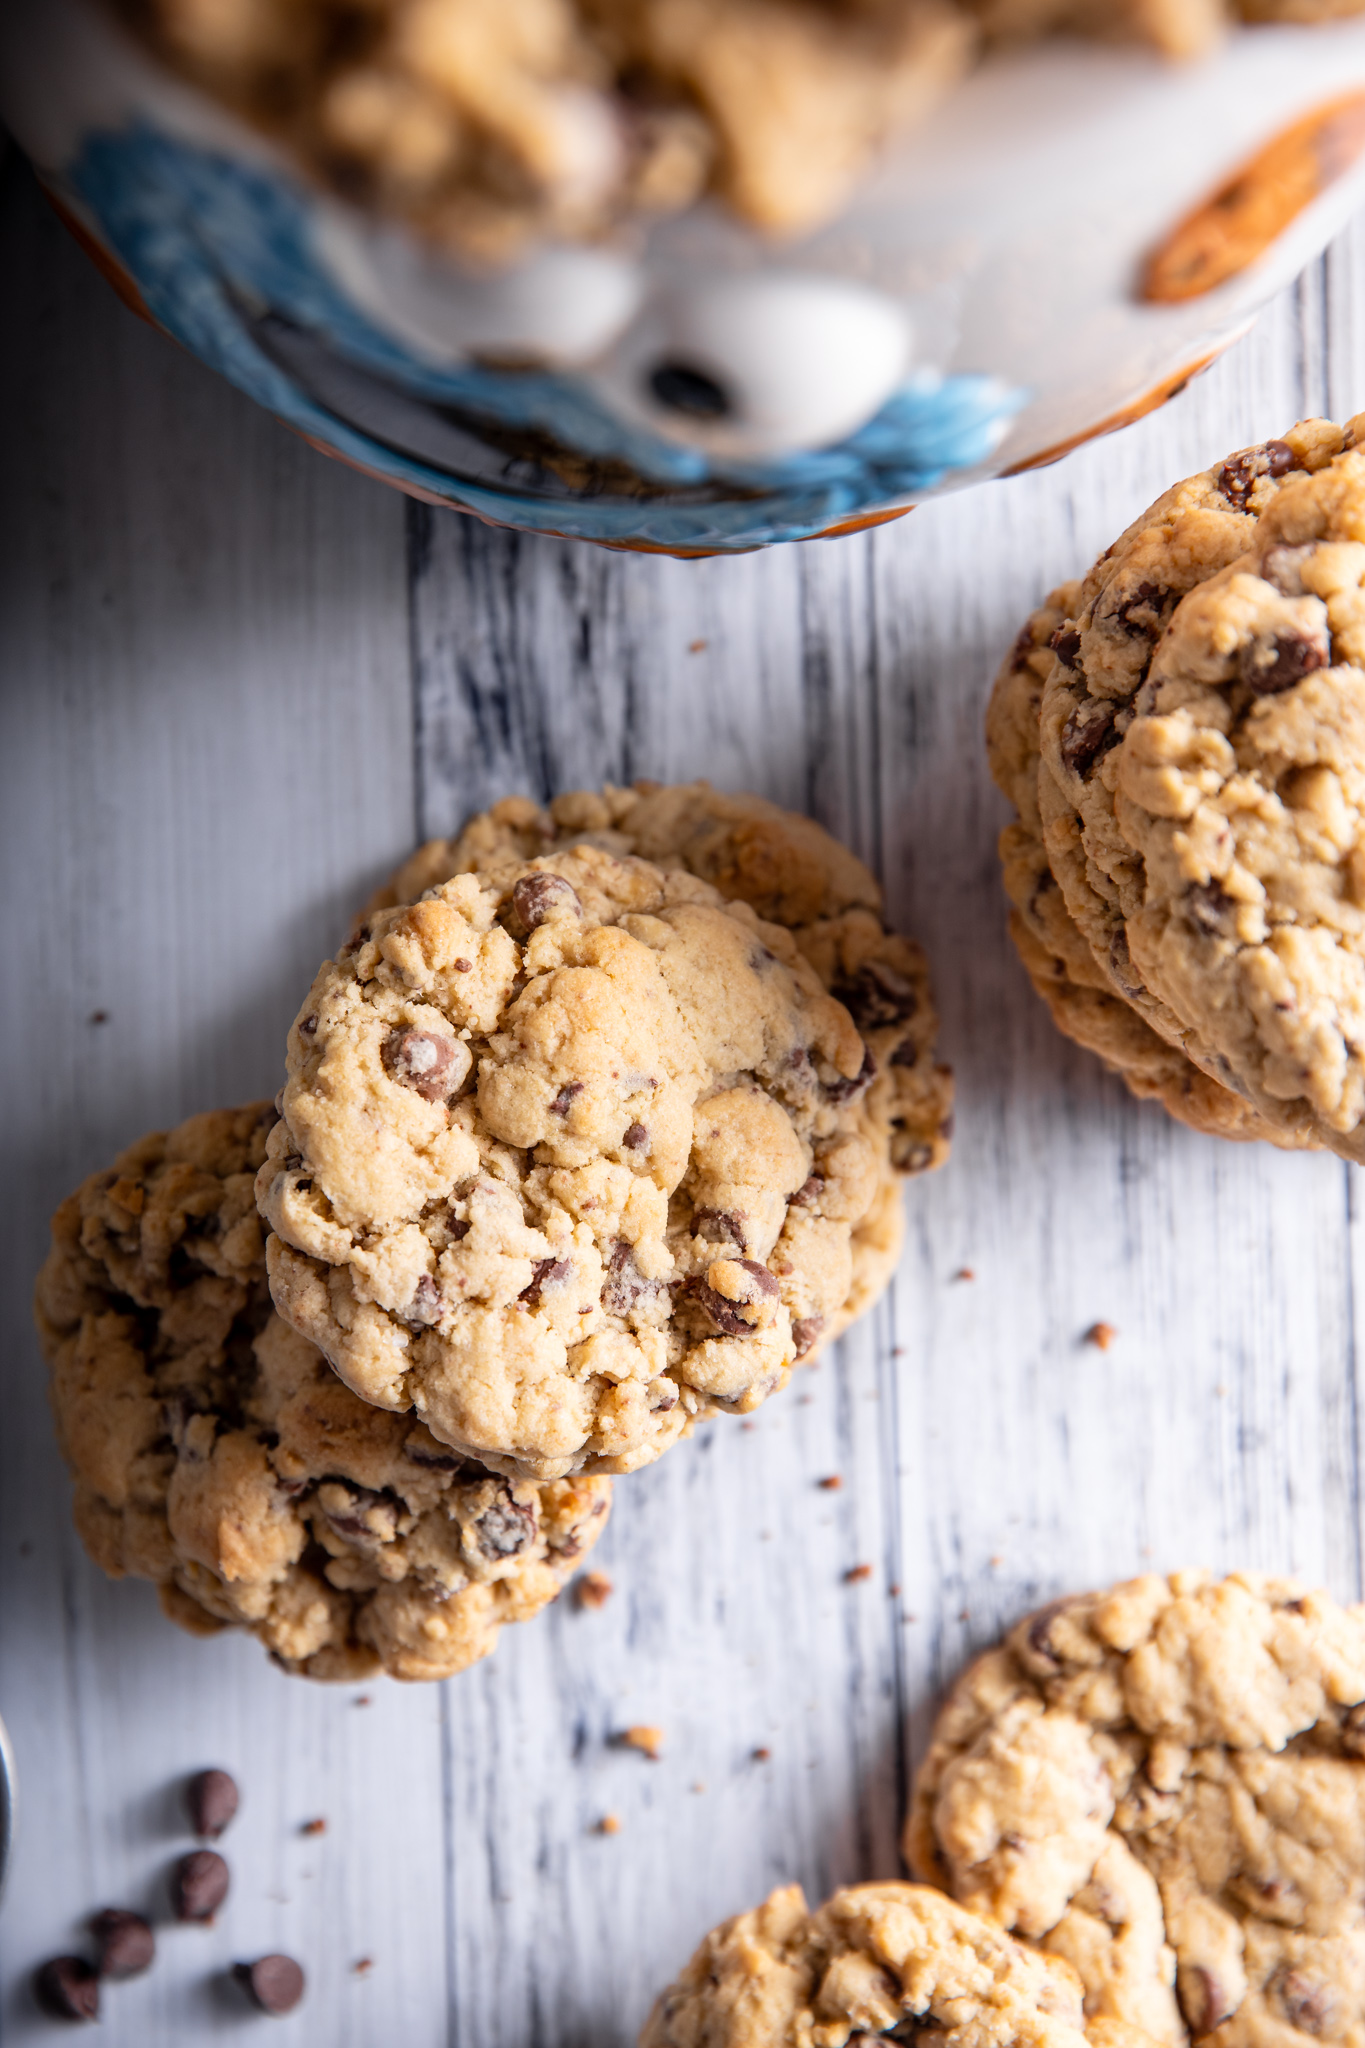
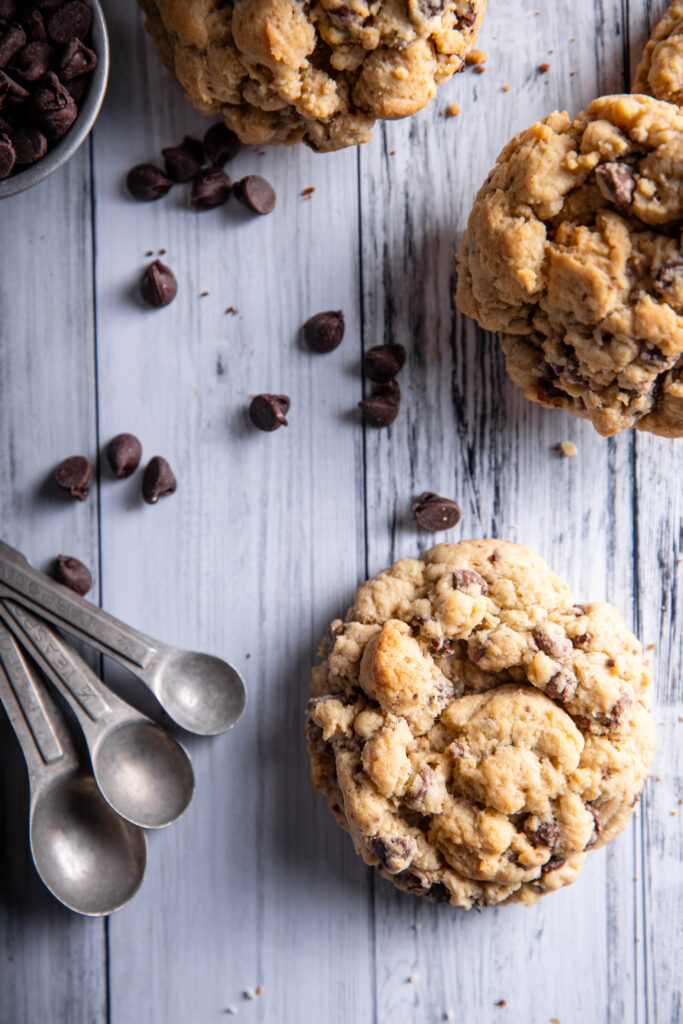
You know those giant NYC bakery-style chocolate chip cookies that are all over the ’gram? The big, fat, chunky ones with craggy tops and chocolate tucked into every nook and cranny? The kind that look like someone crossed a chocolate chip cookie with a small boulder—but in the most delicious possible way?
Yeah. Those.
A while back, I actually bought a recipe book from a baker I found on Instagram because it promised those gorgeous bakery-style cookies.
So naturally, I tried them.
And here’s the deal—you know I’d never lie to you.
They tasted great.
But they weren’t cookies.
They were cookie balls.
Giant quarter-cup spheres of baked cookie dough that steadfastly refused to spread. At all. I kept waiting for them to relax into beautiful chunky cookies, and those little suckers held their ground.
Ivy thought they were fantastic.
I, however, needed my cookies to actually be cookie shaped.
To be fair, the original baker lives in another country and definitely isn’t baking up here at Colorado altitude, so I can’t really be mad at the recipe. Baking is chemistry, and altitude has a funny way of wandering into the kitchen and messing with the experiment.
But I knew I could make them work.
So I Started Messing With Them
Different flour?
Nope.
Less baking powder?
Better, but nope.
Then I did the one thing the original recipe specifically told me not to do.
I added baking soda.
And voilà.
Cookie.
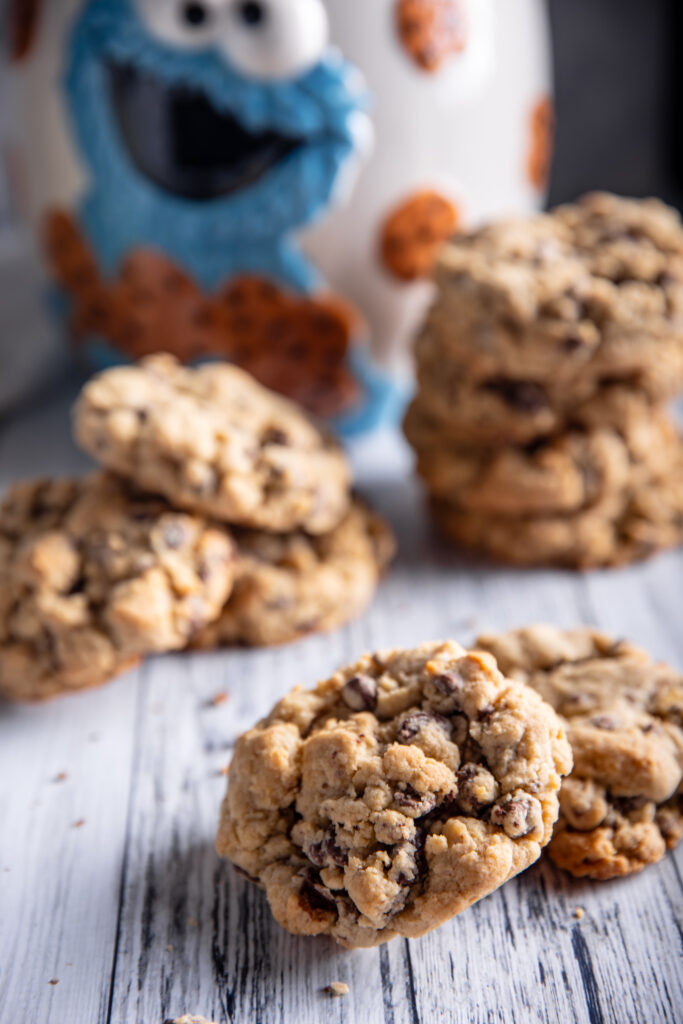
An actual, beautifully browned, chunky, bakery-style chocolate chip cookie.
Turns out, baking powder and baking soda may live next door to each other in the pantry, but they don’t do exactly the same job. Baking powder encourages lift and puff, while baking soda can help cookies spread and brown.
For my stubborn little cookie boulders, that was exactly what they needed.
Now they’re thick without being spherical, crisp and beautifully browned around the edges, soft in the middle, and loaded with both semisweet and milk chocolate.
And most importantly?
They’re worthy of the Cookie Monster jar.
Why These Cookies Are a Little Weird to Make
I’m warning you now: there will be a moment while making these when you’re going to look into your mixer and think,
“Christine has finally lost it.”
Stay with me, friend.
These don’t come together like traditional chocolate chip cookies.
We’re not creaming the butter and sugar. We’re using cold butter. We’re adding the chocolate before the flour. And at one point the whole thing is going to look like chocolate-chip-studded sand.
It feels wrong.
It’s not.
All of those slightly strange steps help create that rough, cobblestone bakery-cookie texture instead of a perfectly smooth cookie dough ball.
Trust the funky.
Giant NY Bakery Style Chocolate Chip Cookies
Yield: 12 giant cookies
Chill Time: 2 hours or overnight
Bake Time: 17 minutes per batch
Bake Temperature: 355°F
Ingredients
- 230 g butter, cold
- 165 g light brown sugar
- 95 g granulated sugar
- 390 g all-purpose flour
- 110 g self-rising flour
- 1/2 teaspoon baking powder
- 1 1/2 teaspoons baking soda
- Pinch of salt
- 150 g semisweet chocolate chips
- 150 g milk chocolate chips
- 2 large eggs
- 1 large egg yolk
- 1 1/2 teaspoons vanilla extract
Instructions
1. Start with cold butter.
Cut the cold butter into cubes and place it in the bowl of your stand mixer along with the brown sugar and granulated sugar.
And yup, friends, you’re going to want the stand mixer for this one.
Mix on low speed just until the butter and sugars begin combining.
This part is important: do not cream them together.
You’re looking for little lumps of cold butter coated in sugar rather than the light, fluffy mixture we’d normally want for chocolate chip cookies.
2. Mix your dry ingredients.
While the mixer is doing its thang on low, combine the all-purpose flour, self-rising flour, baking powder, baking soda, and salt in a separate bowl.
3. Add the chocolate.
Next, add both kinds of chocolate chips directly to the butter and sugar mixture.
I know.
It’s weird.
But we’re making sure all that chocolate gets evenly incorporated before the dough comes together.
4. Add the dry team.
With the mixer still running on low, gradually add the dry ingredients.
At this point, your mixer is going to contain something resembling chocolate chip sand.
Stay with me, friends. This is all kinds of funky, but it works.
5. Add the eggs and vanilla LAST.
Add the two eggs, extra egg yolk, and vanilla extract.
Now stay close.
The dough will go from what on earth is happening in there? to serious cookie dough remarkably quickly.
Listen to your mixer. As soon as you hear the motor begin working harder and the dough comes together, turn it off.
We don’t want to overmix it.
6. Rough up the dough.
You’re going to have one enormous blob of cookie dough in your mixer.
Get in there with your hands and gently break it apart into a rough, pebble-y mound. This helps preserve that craggy, cobblestone appearance we’re after.
7. Scoop the cookies.
Using a 1/4-cup scoop, portion the dough into 12 big old cookie balls.
Don’t pack or roll them tightly. Keep them loose and craggy so those gorgeous rough edges survive baking.
Place them on a parchment-lined baking sheet or tray.
8. Chill.
Refrigerate the cookie dough for at least 2 hours, or let it hang out overnight.
Don’t skip this part. These are big cookies with lots of butter, and that fridge time helps them keep their chunky shape while still allowing them to spread.
9. Bake.
When you’re ready for cookies, preheat your oven to 355°F.
Arrange five chilled cookies at a time on a parchment-lined baking sheet, leaving plenty of room between them.
Bake for 17 minutes. Remember, these are big old bakery cookies, so they need a little more oven time than your average chocolate chip cookie.
The cookies should be beautifully golden around the edges while still looking soft and thick through the center.
10. Let them cool on the pan.
This is the cruel part.
Let the cookies cool completely on the baking sheet before moving them. They’re big, thick cookies, and they’ll continue setting as they cool.
Then?
Get the milk. Find the Cookie Monster jar. You’ve earned this.
A Few Things I Learned Along the Way
Don’t cream the butter and sugar.
This isn’t the time for fluffy butter. Those little cold butter pieces are part of what gives these cookies their bakery-style texture.
Don’t make perfect dough balls.
We’re embracing the craggy here. Think cobblestones, not golf balls.
Don’t skip the chill.
Two hours is good. Overnight is even better.
And don’t be afraid to question a recipe.
Sometimes a recipe can work beautifully in one kitchen and act completely ridiculous in another. Different ingredients, ovens, climates, and—in my case—altitude can change things.
Recipes aren’t sacred little kitchen commandments. They’re starting places.
So I’ve learned my lesson, friends.
Maybe don’t buy recipes from random bakers you’ve never heard of on the internet.
And if you do?
Don’t be afraid to mess with them until they work in your kitchen.
May your cookies be cookie shaped, your chocolate chips be plentiful, and your cookie jars never be empty.
Giant NY Bakery Style Chocolate Chip Cookies
Ingredients
Method
- Start with cold butter.
- Cut the cold butter into cubes and place it in the bowl of your stand mixer along with the brown sugar and granulated sugar.
- And yup, friends, you’re going to want the stand mixer for this one.
- Mix on low speed just until the butter and sugars begin combining.
- This part is important: do not cream them together.
- You’re looking for little lumps of cold butter coated in sugar rather than the light, fluffy mixture we’d normally want for chocolate chip cookies.
- Mix your dry ingredients.
- While the mixer is doing its thang on low, combine the all-purpose flour, self-rising flour, baking powder, baking soda, and salt in a separate bowl.
- Add the chocolate.
- Next, add both kinds of chocolate chips directly to the butter and sugar mixture.
- I know.
- It’s weird.
- But we’re making sure all that chocolate gets evenly incorporated before the dough comes together.
- Add the dry team.
- With the mixer still running on low, gradually add the dry ingredients.
- At this point, your mixer is going to contain something resembling chocolate chip sand.
- Stay with me, friends. This is all kinds of funky, but it works.
- Add the eggs and vanilla LAST.
- Add the two eggs, extra egg yolk, and vanilla extract.
- Now stay close.
- The dough will go from what on earth is happening in there? to serious cookie dough remarkably quickly.
- Listen to your mixer. As soon as you hear the motor begin working harder and the dough comes together, turn it off.
- We don’t want to overmix it.
- Rough up the dough.
- You’re going to have one enormous blob of cookie dough in your mixer.
- Get in there with your hands and gently break it apart into a rough, pebble-y mound. This helps preserve that craggy, cobblestone appearance we’re after.
- Scoop the cookies.
- Using a 1/4-cup scoop, portion the dough into 12 big old cookie balls.
- Don’t pack or roll them tightly. Keep them loose and craggy so those gorgeous rough edges survive baking.
- Place them on a parchment-lined baking sheet or tray.
- Chill.
- Refrigerate the cookie dough for at least 2 hours, or let it hang out overnight.
- Don’t skip this part. These are big cookies with lots of butter, and that fridge time helps them keep their chunky shape while still allowing them to spread.
- Bake.
- When you’re ready for cookies, preheat your oven to 355°F.
- Arrange five chilled cookies at a time on a parchment-lined baking sheet, leaving plenty of room between them.
- Bake for 17 minutes. Remember, these are big old bakery cookies, so they need a little more oven time than your average chocolate chip cookie.
- The cookies should be beautifully golden around the edges while still looking soft and thick through the center.
- Let them cool on the pan.
- This is the cruel part.
- Let the cookies cool completely on the baking sheet before moving them. They’re big, thick cookies, and they’ll continue setting as they cool.
Notes
Grab a giant cup of milk, devour one and put the rest in your awesome cookie jar!